Halloween painting ideas
Making a painting for Halloween is a very memorable thing to add color to Halloween! But sometimes you may lack inspiration and don’t know what kind of painting to create. Below I will summarize the most innovative Halloween painting ideas for 2023, describe the creation process in detail, and share Halloween painting ideas with you. I hope it can help everyone create better!
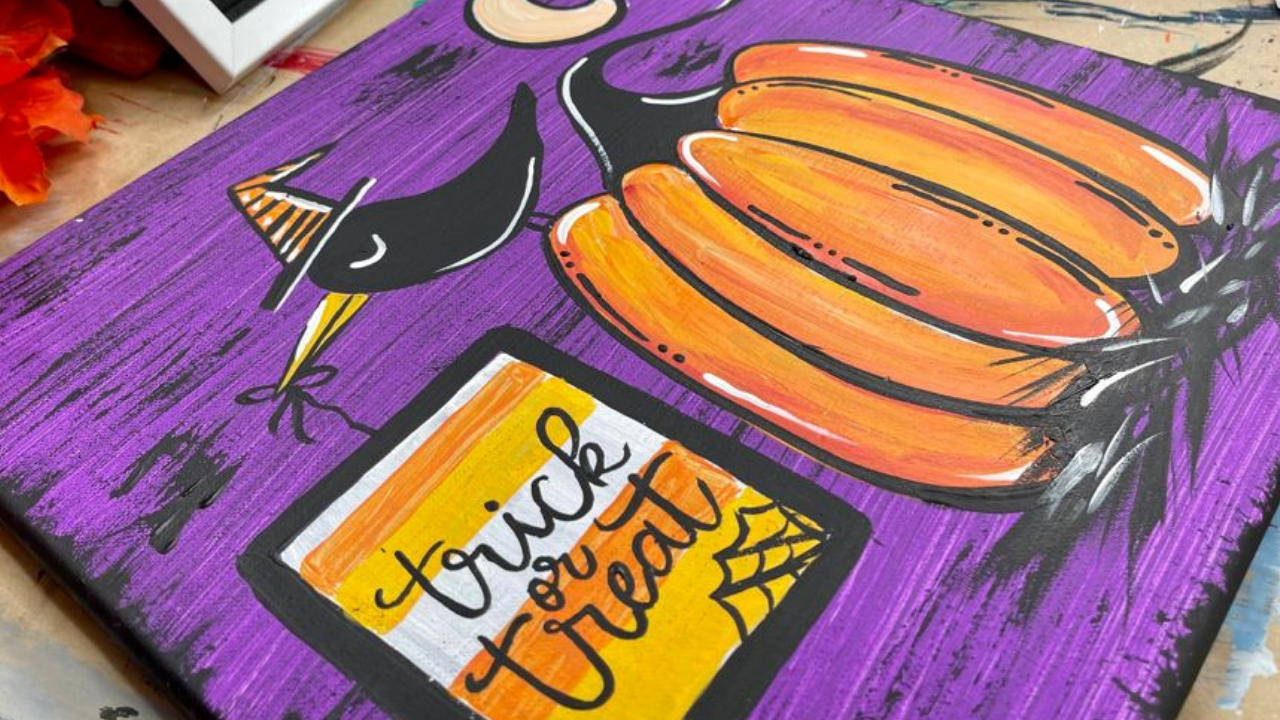
Thrifted Ghost Halloween Paintings
When I first came across this Halloween painting idea, I didn’t quite understand it. How can I paint frugally? Paint on the ground? After learning about it later, I realized that this is a form of secondary creation DIY.
The creative idea of Thrifted Ghost Halloween Paintings is to purchase some existing paintings, then paint on them and add your own elements into them. For example, you can add ghost elements to Halloween. As long as the creation is reasonable, it can be well coordinated with the original painting and form a new kind of fun.
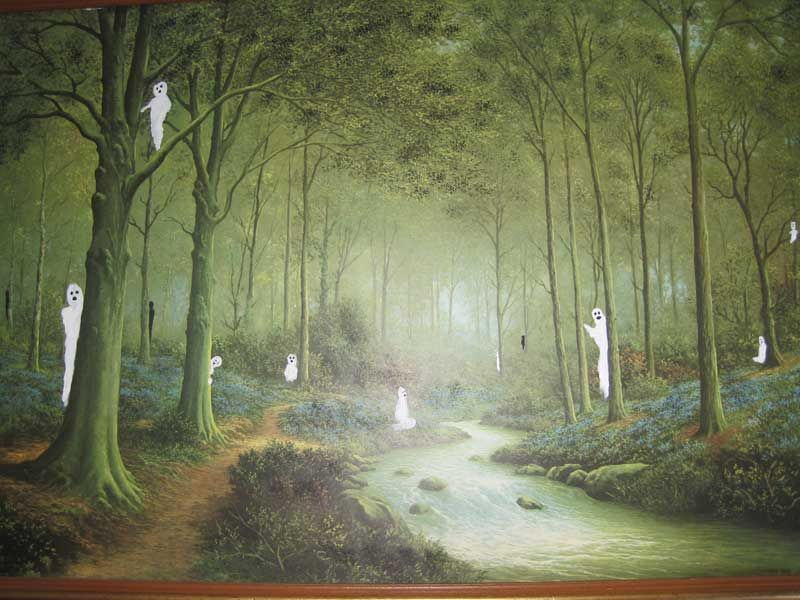
This method of creation is very suitable for people who have no painting skills. Even if there is no painting foundation, you can still create a good work. And when you have little inspiration, you may be faced with other people’s paintings and suddenly think of what it would look like in your style. Then you can just buy it and paint it.

How to create Thrifted Ghost Halloween Paintings?
Choose a painting you like
Creating Thrifted Ghost Halloween Paintings is a good Halloween painting idea, but how to create it? First of all, you need to choose a painting that you like and has inspiration for singing and writing. It can be any painting, such as a poster or an illustration from a magazine, but the best choice is an old painting, because it itself is in Canvas allows for better creation and later mounting. But if you choose posters or illustrations, be careful with your choice of painting materials, as they are easily damaged.
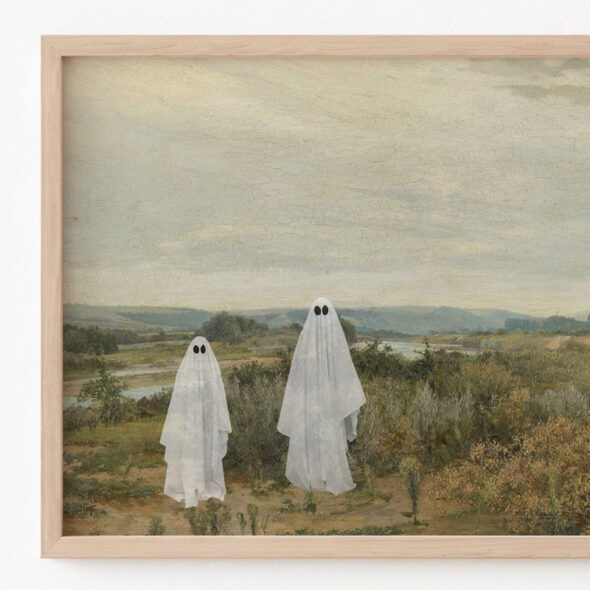
So how do you find an old painting? The answer is that you can buy it at an art supermarket, a used goods store, or someone else’s garage sale. The important thing about painting is having fun!
Excellent Examples of Thrifted Ghost Halloween Paintings
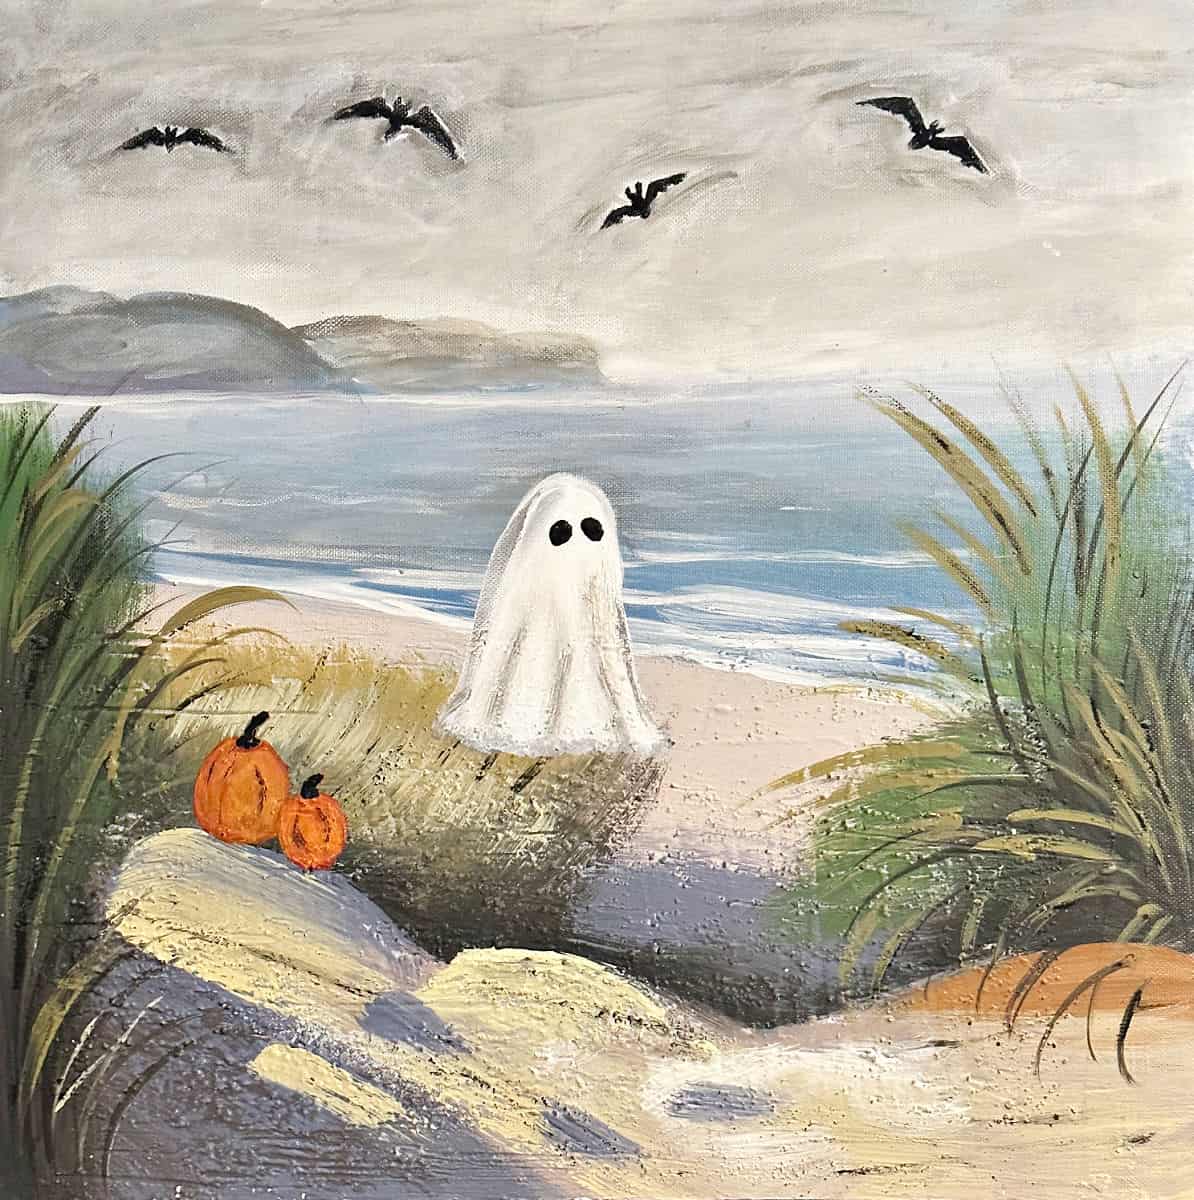
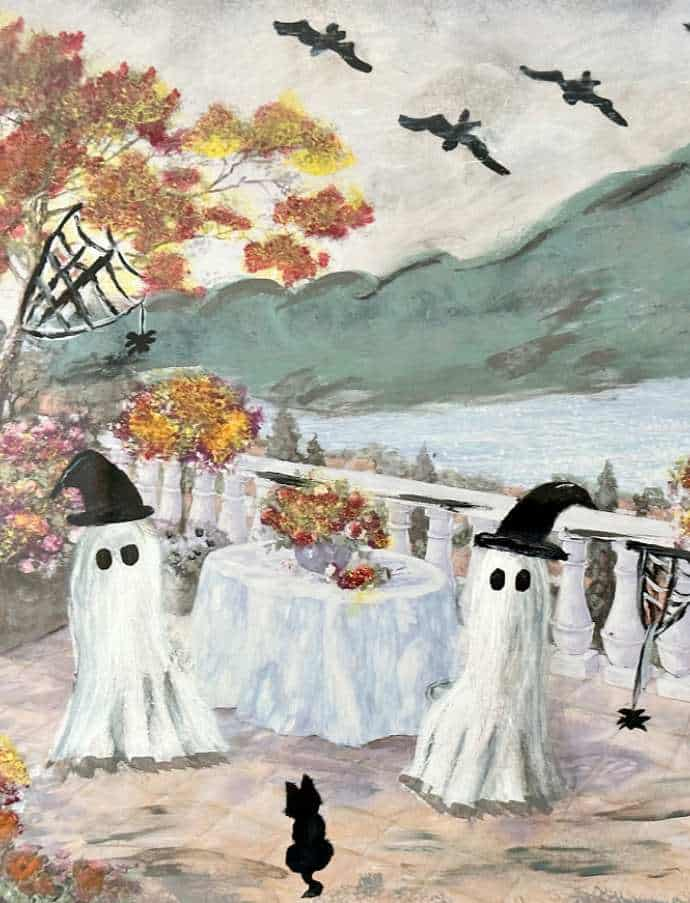
This piece of Thrifted Ghost Halloween Paintings is excellent. Based on a landscape painting, he painted a ghost walking by the river. He also painted two pumpkins close to Halloween, and there were bats in the sky. This became his own painting!
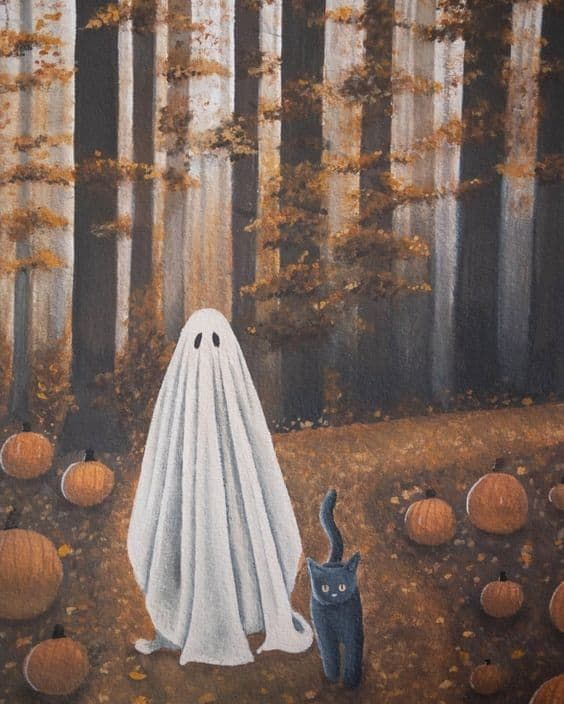
This painting is based on a forest landscape. It is very simple to find such a landscape painting, just create it!
Ghost drawing tutorial
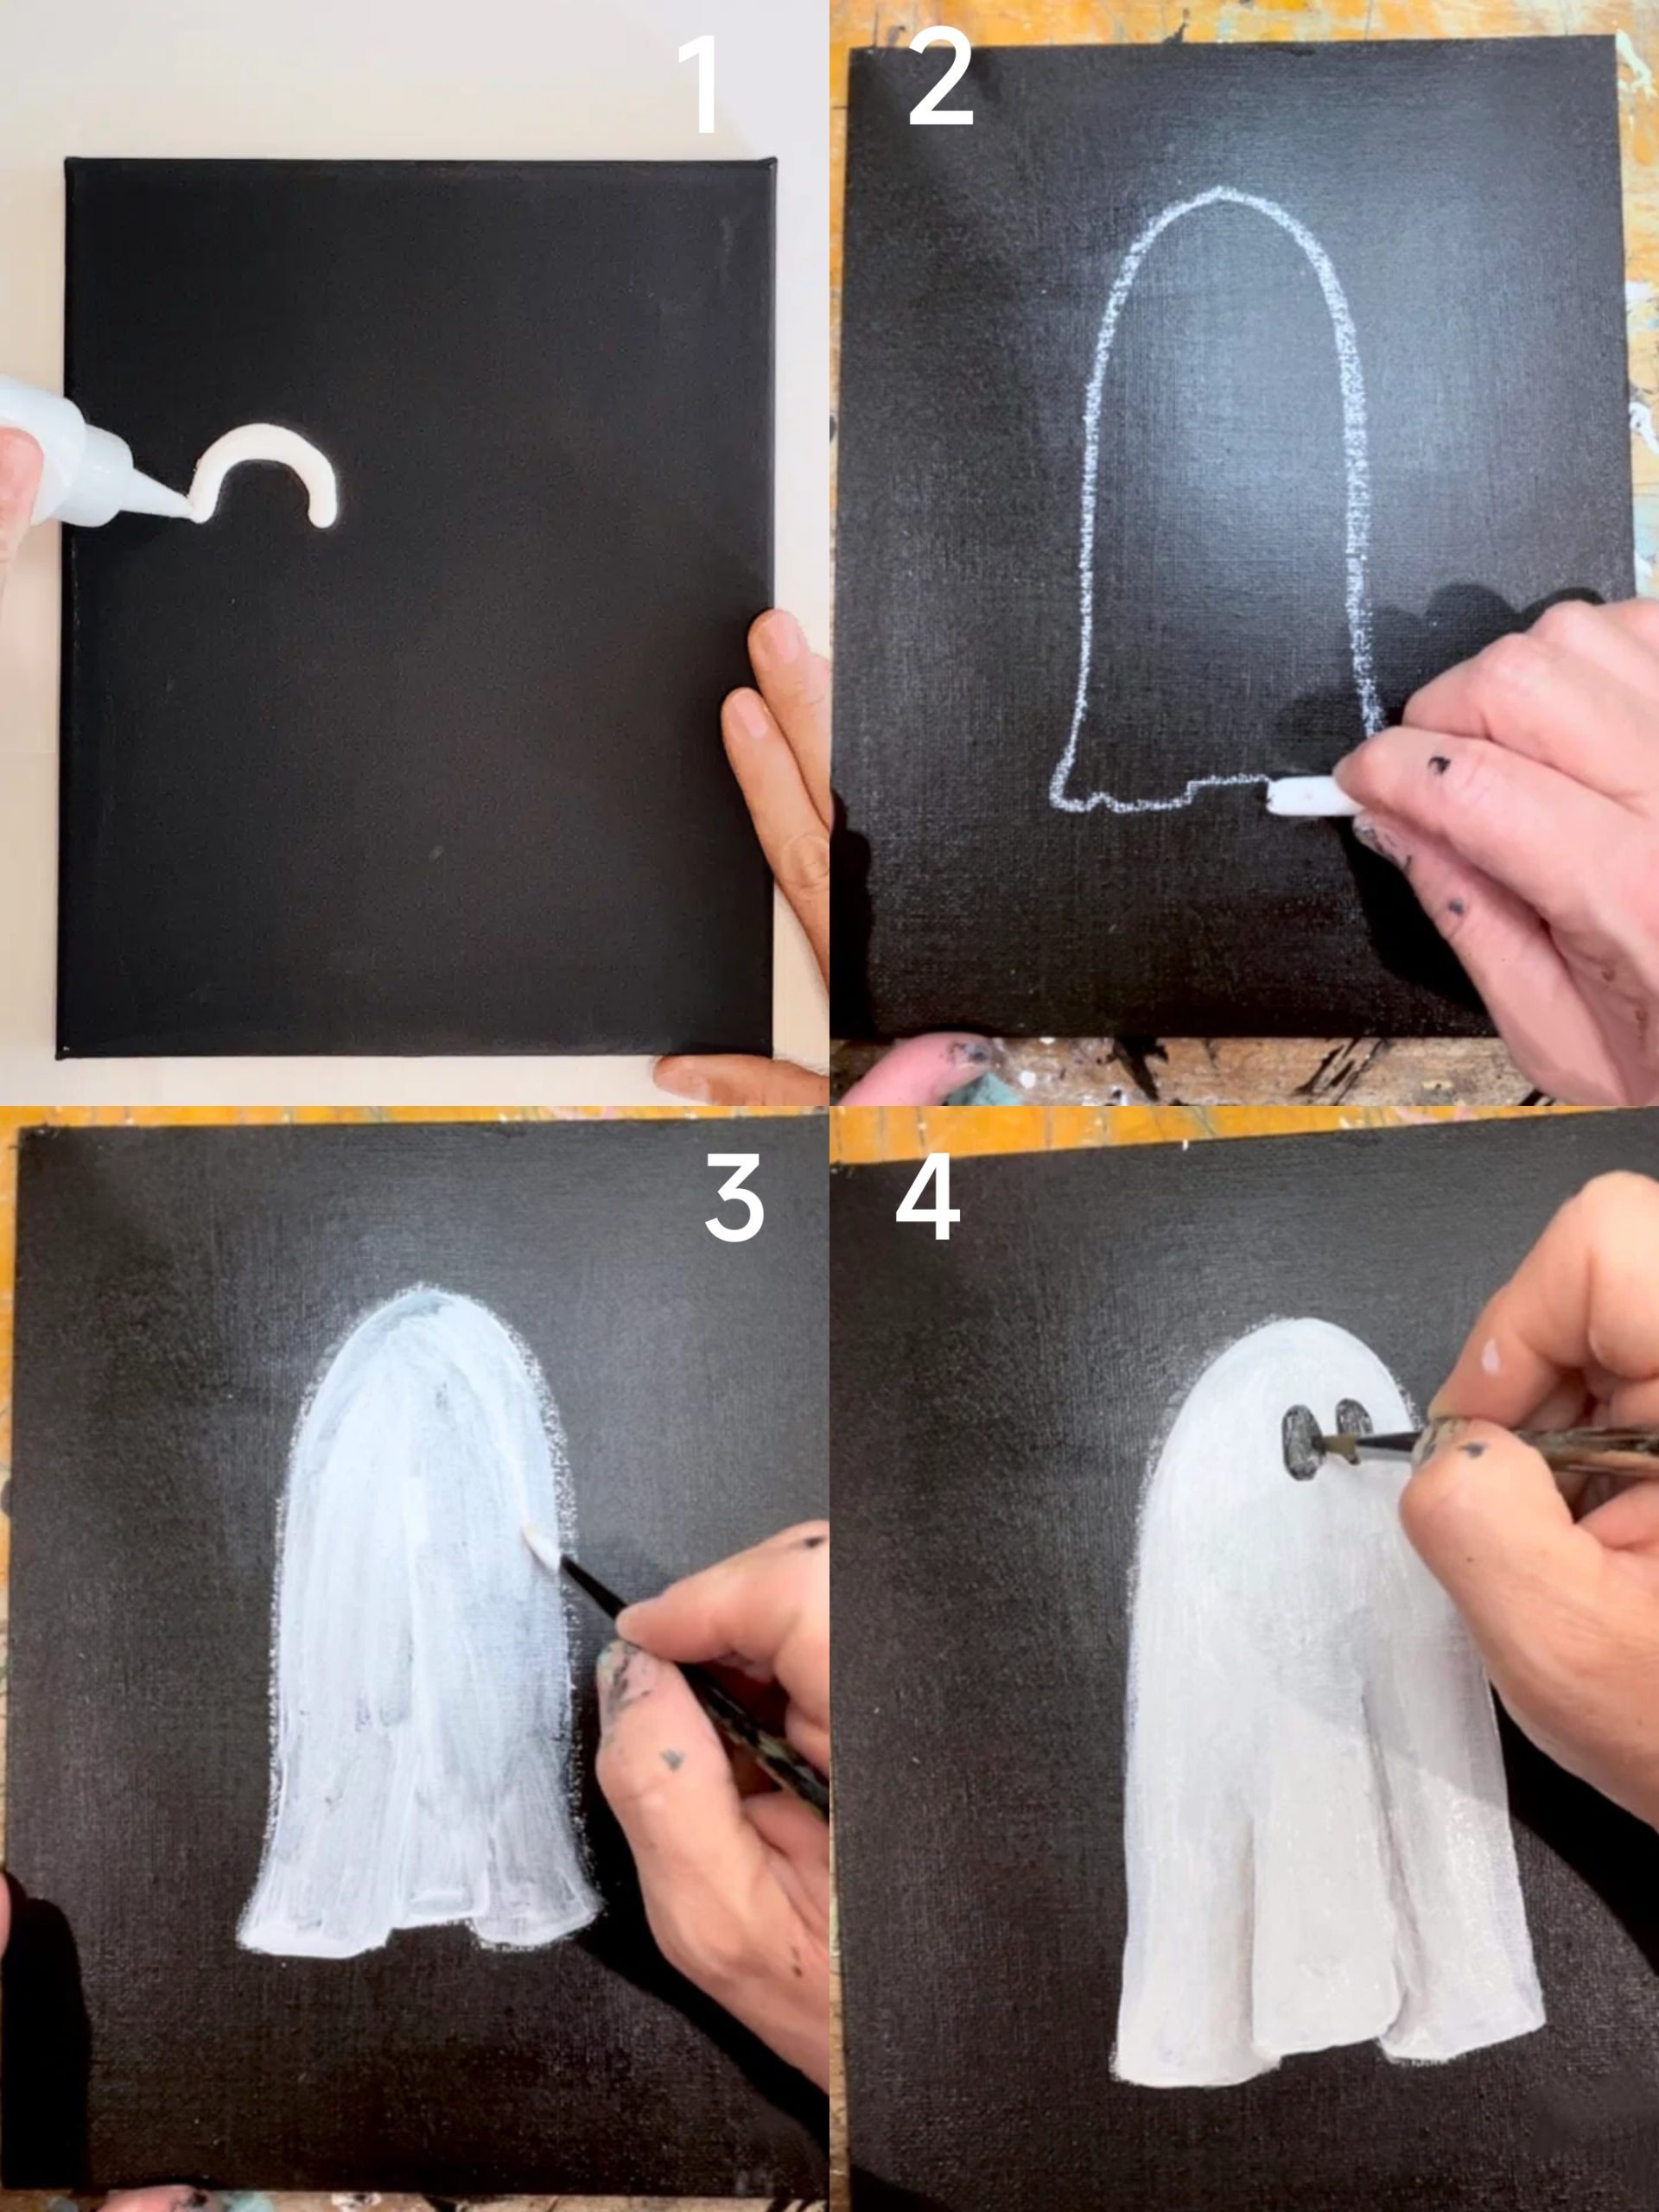
- First prepare white paint and a brush. The brush does not need to be too thick. It is recommended to prepare several more paint brushes and dip them in different paints to prevent the paint from staining.
- Squeeze out white and black paint for easy dipping
- Then outline the shape of the ghost first and then fill it in with a brush.
- Finally, use black paint to draw the eyes, which can be lightly outlined below the soul to make it more layered.
Tips for drawing
- If you are new to using brushes and paints, you can practice on paper beforehand and then paint on the canvas.
- To know if the composition is appropriate, lay a layer of clear plastic sheeting over the painting and then paint on the plastic to check the composition.
- Used brushes and painting trays must be cleaned in time, otherwise it will be difficult to clean them when the paint dries.
How to maintain Thrifted Ghost Halloween Paintings?
Keep dry and ventilated
Humid conditions may stain the canvas or cause the paint to peel off, and direct sunlight should also be avoided.
Avoid touching
Human hands contain contaminants such as oil, sweat, and dust, which can cause permanent damage to paintings. If you need to move the painting, it is best to use gloves.

Framed
Thrifted Ghost Halloween Paintings are a good souvenir, and the best way to preserve them is to frame them. Once framed it becomes a great decoration that you can hang anywhere in your home.
Rock paintings
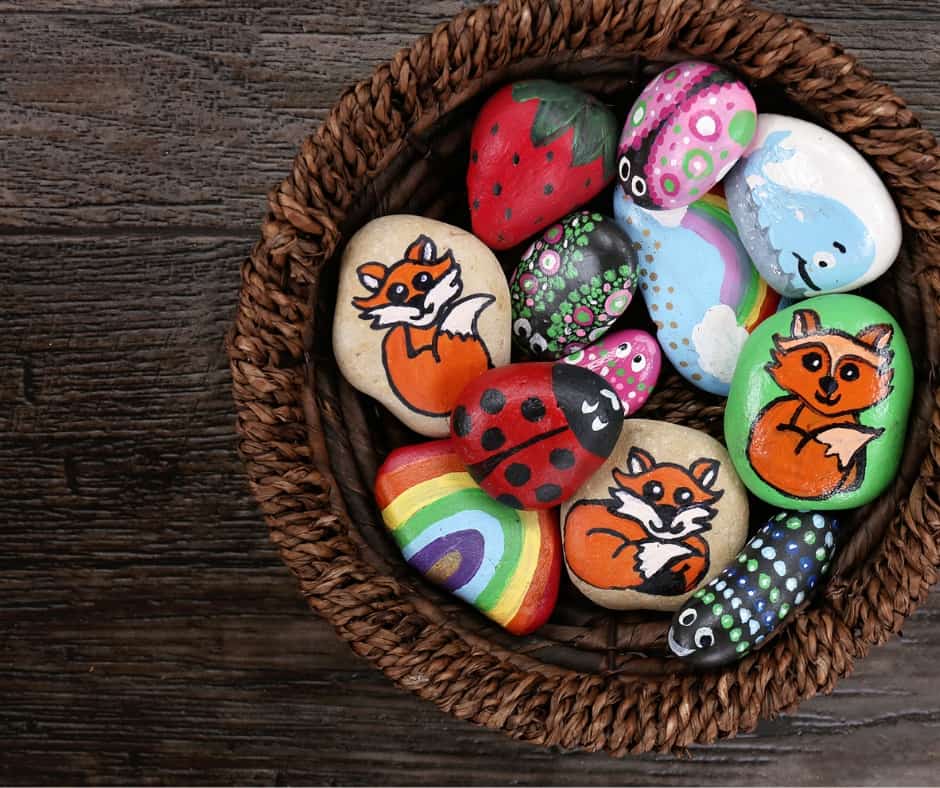
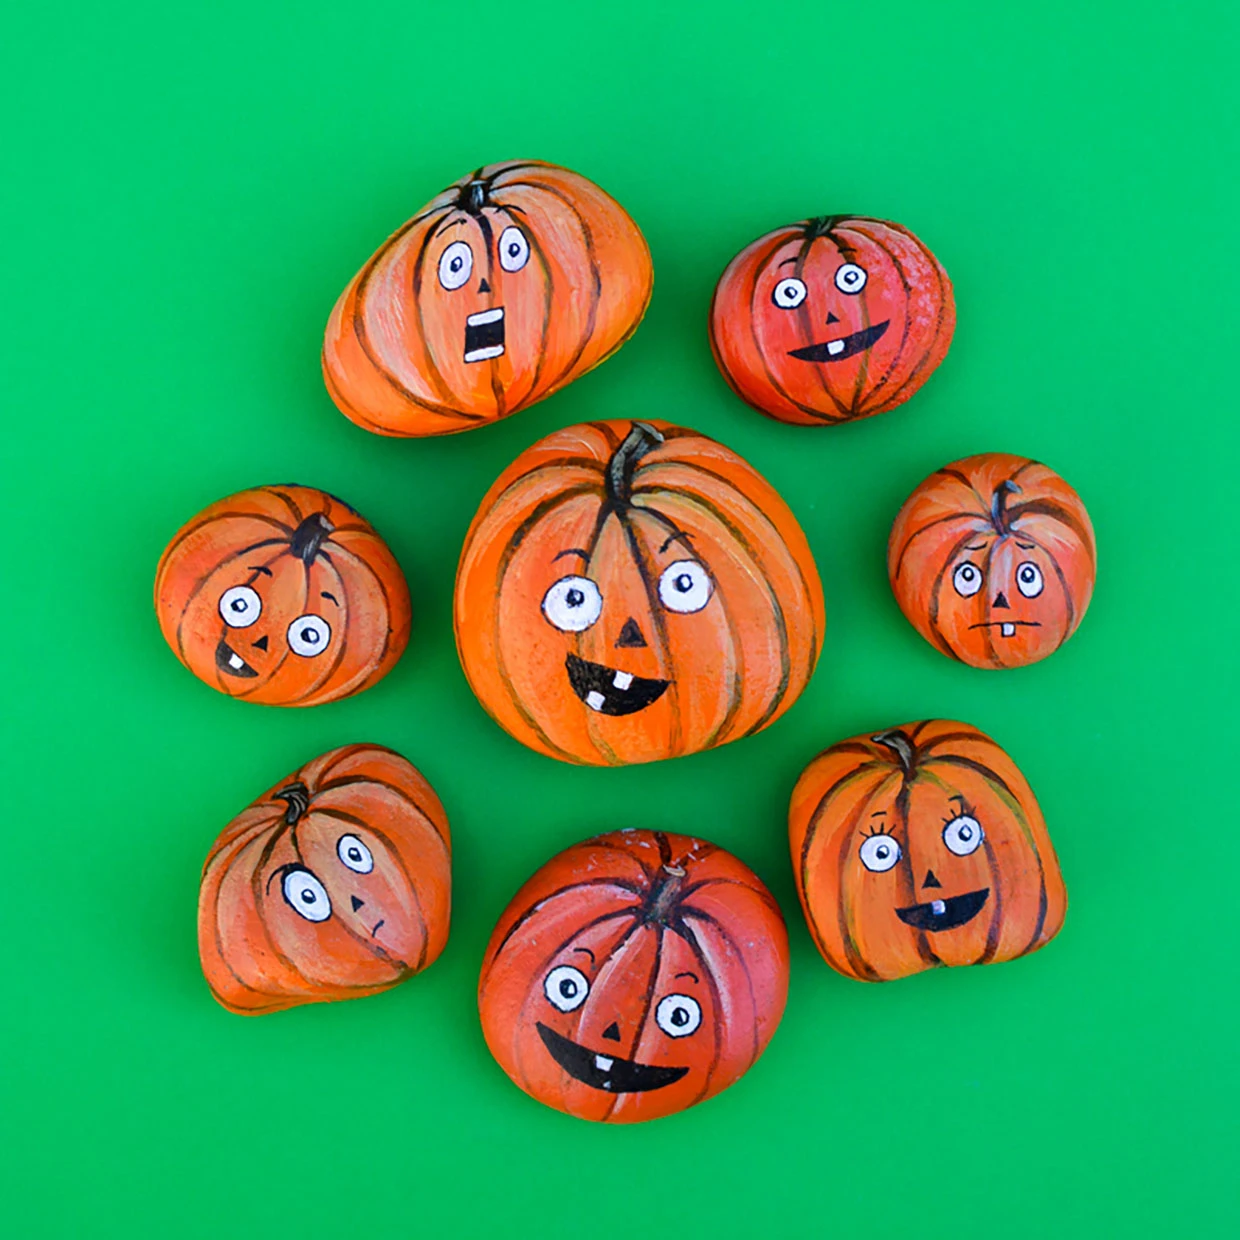
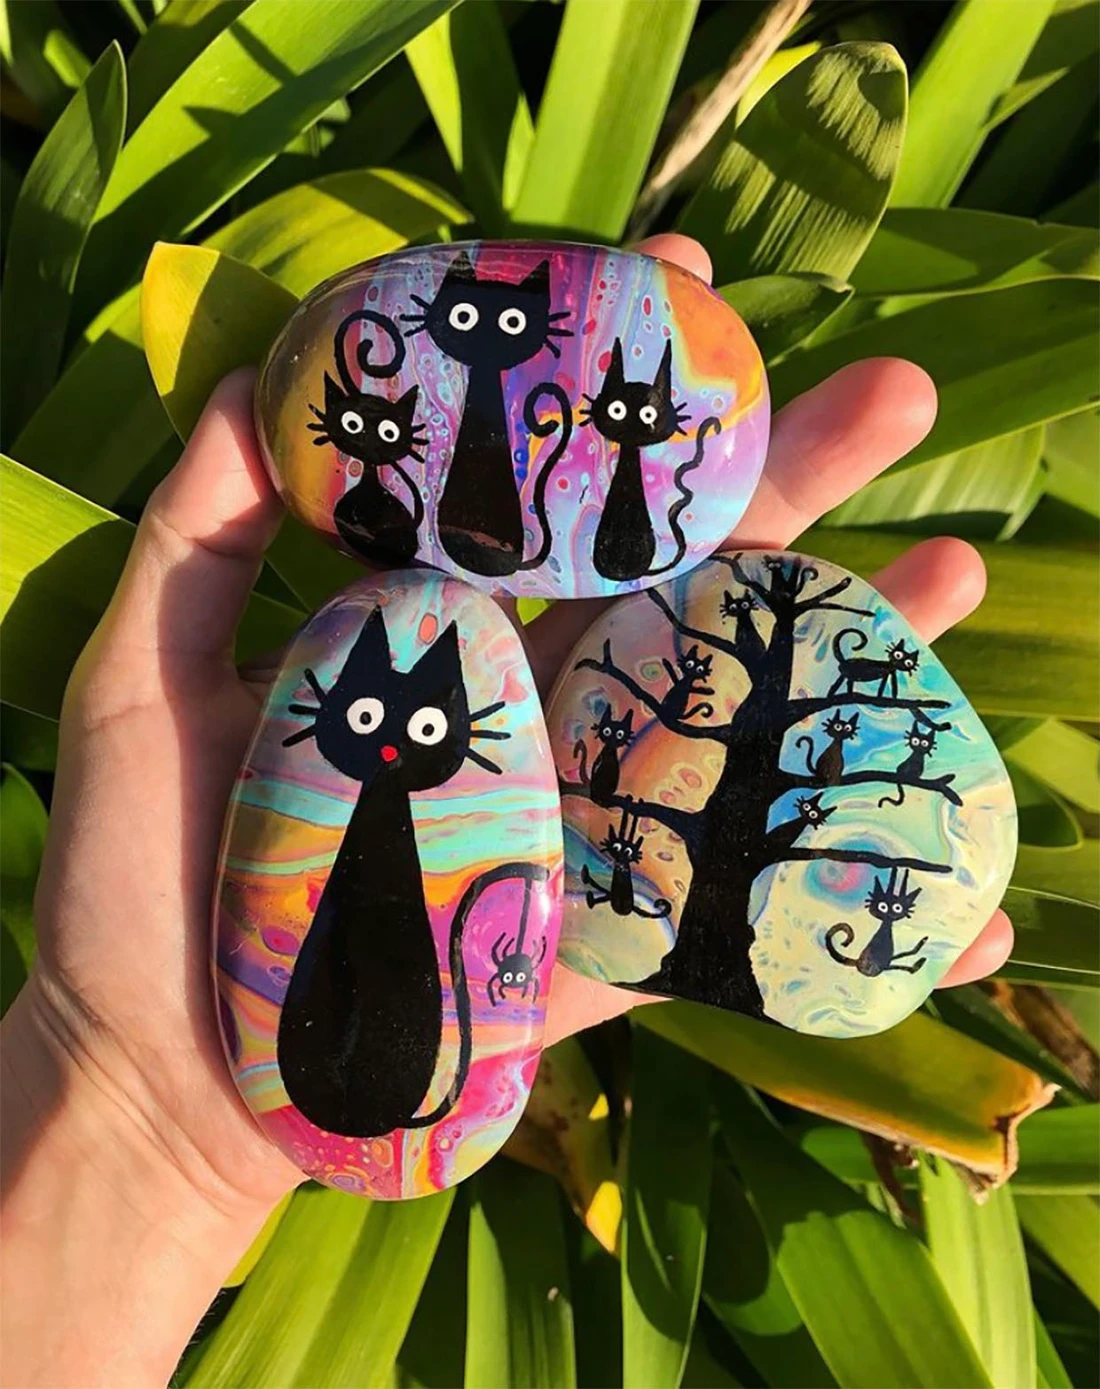
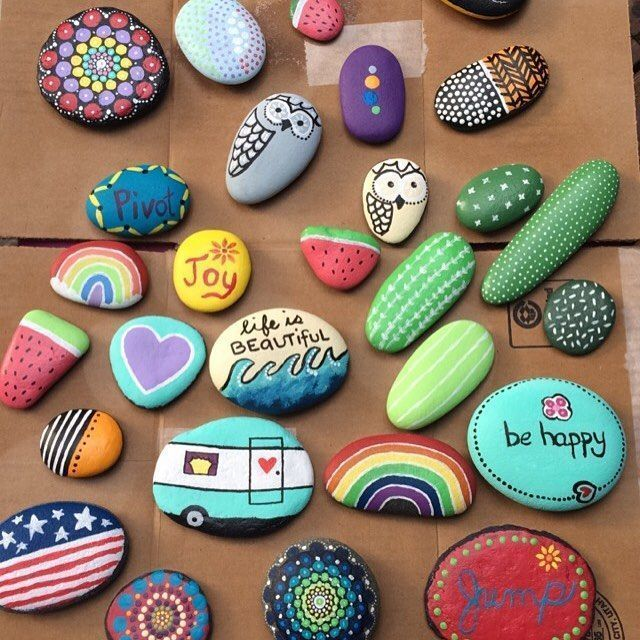
Have you ever painted on stone? It’s a very magical experience. Drawing Halloween patterns based on the shapes of stones is not only fun but also very novel. Let’s learn about this Halloween painting ideas together!
Preparation for rock painting
Stone
looking for stones
If you are looking for stones in the river, you will definitely look for them on the river bed. Stones of similar appearance can also be found along streams, lakes and seashores. But smooth stone is ideal. After being washed by the water every day, the stones in the river have been polished smooth and round, making them perfect for painting.
Cleaning stones
In addition to washing the dirt off the stone, you’ll also want to check for cracks and peeling areas. When cleaning, first soak the stone in warm soapy water, brush it clean with a toothbrush, then rinse off the soapy water and dry it with a towel.
Brush
Use a cheap paintbrush. Stones can wear down the bristles when applying color, and those that are harder are more damaging to the bristles. You can buy cheap pen sets in stationery stores in various sizes from large to small. If you need to paint a large area, use a larger brush; if you need to outline details, use a smaller brush.
Have a pencil ready to outline the first draft. The H-type pencil has light ink and clean lines, so it is most suitable for sketching.
Pigment
Use acrylic paint that comes in tubes, such as Liquitex. Outdoor-specific acrylic paints have the best effect and can better present Halloween painting ideas. Because it can effectively cover materials with holes on the surface, such as stone, and can withstand the sun and rain. If you plan to place the painted stones indoors, you can use regular acrylic paints.
If the paint packaging has a birdhouse image printed on it, it means that the paint can be used safely outdoors.
Be sure to have a palette ready for easy mixing of paints. If you don’t have one, use old plates, wax paper, or foil wrapped around cardboard instead.
Maintenance work
Get ready for varnish!
The creative process of rock painting
Choose a pattern
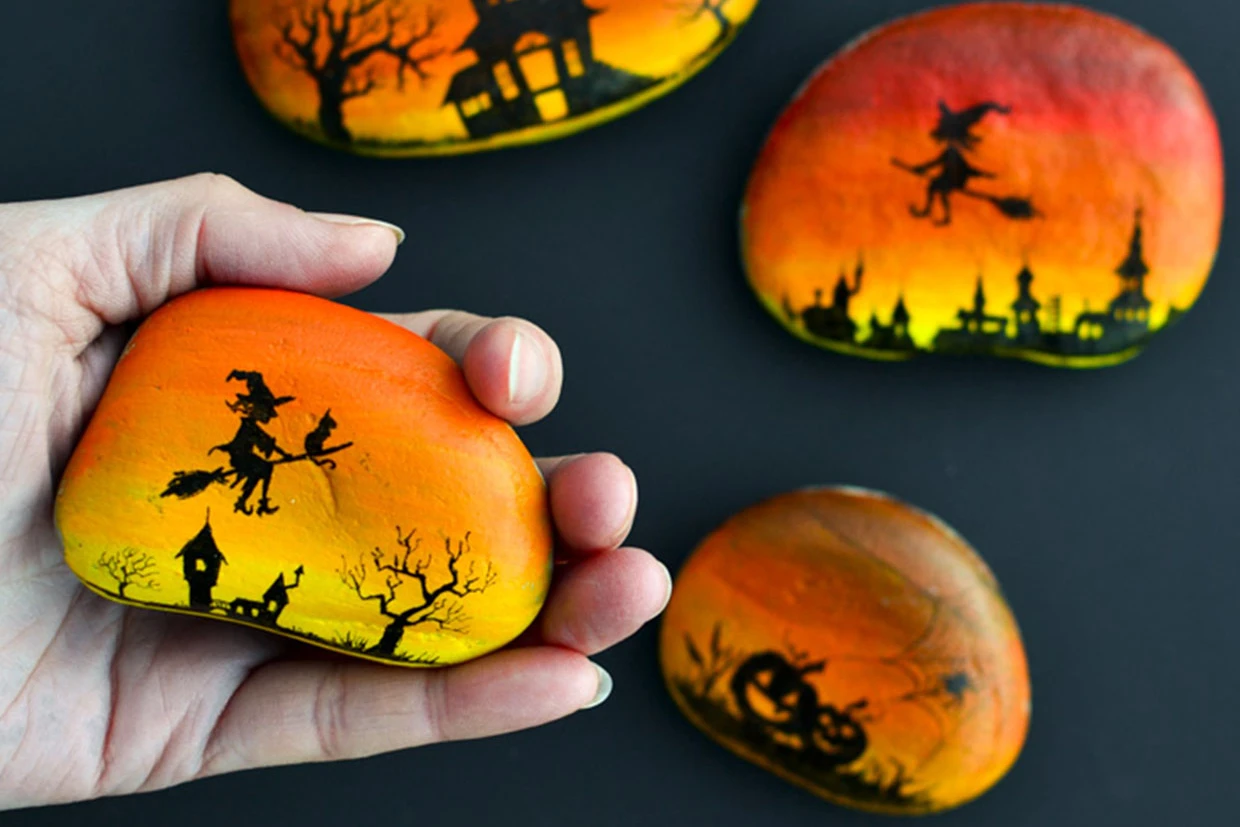
Choose any Halloween painting ideas you like. You can paint the entire rock to look like a pumpkin head, or you can paint ghosts or Halloween scenes on the rock. What you draw depends on your own interests, and you can also draw it based on the shape of the stone.
First draft of painting
Once the stone is clean, you can trace patterns on it with a pencil. If you are not sure and do not want to paint on the stone at the beginning, you can also sketch on paper first to confirm your Halloween painting ideas. Sketching at the same time can increase the accuracy of painting.
Be gentle when writing. If the pencil mark is too dark, the light pigment will show through later, affecting the appearance.
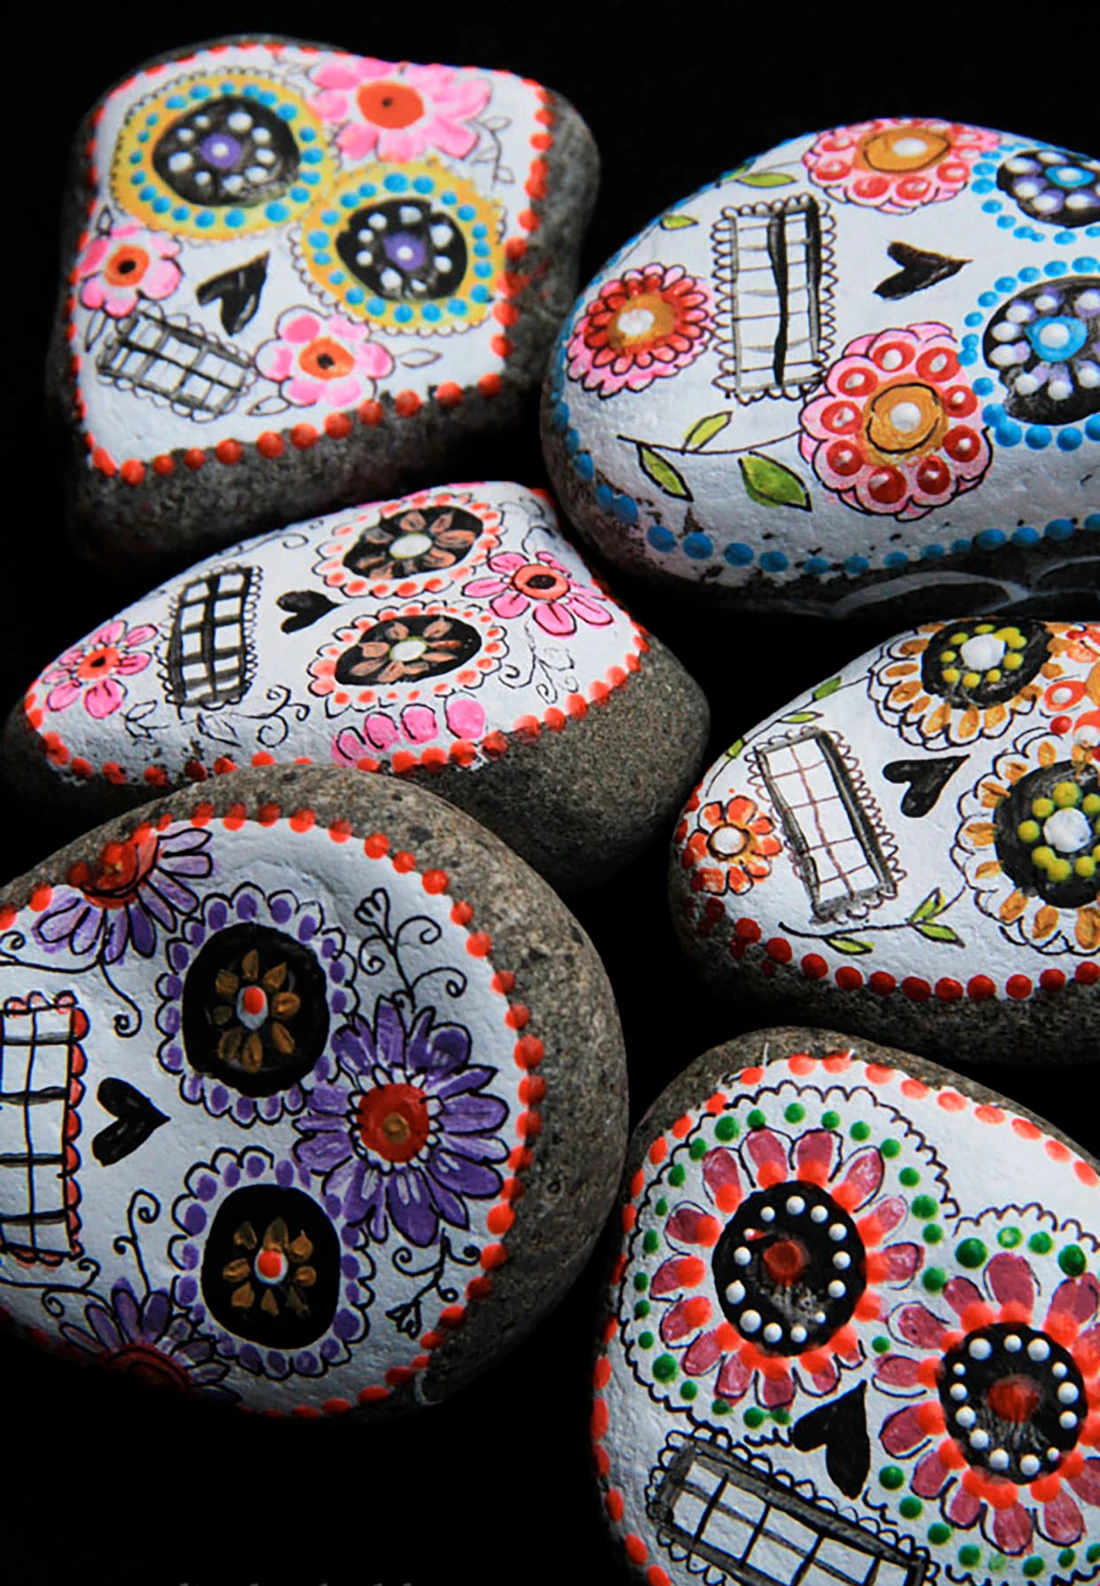
Coloring
Paint the larger areas first. A common mistake when painting is to paint the small areas first. When it’s your turn to paint a large area, you have to bypass the small areas. So, start with the big things first, like the background color.
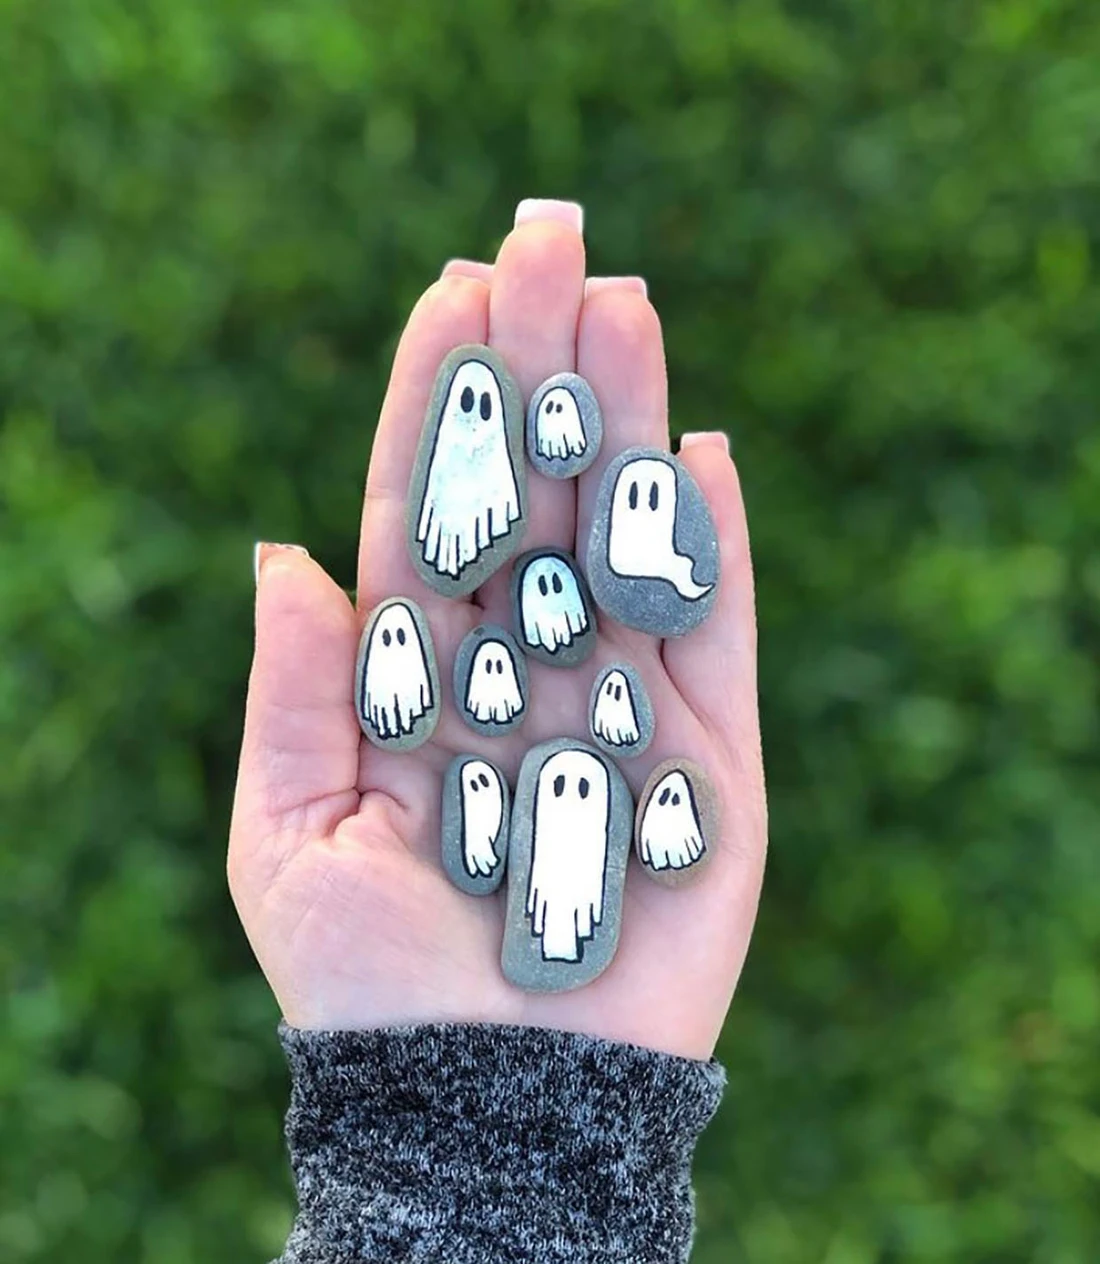
Once you’re done, wait for the paint to dry before painting next to or over the areas you’ve already painted. You can paint just one side or both sides. If you plan to paint both sides of the stone, it will take at least a few hours or a day for the paint to dry. After this, you can move on to the other side.
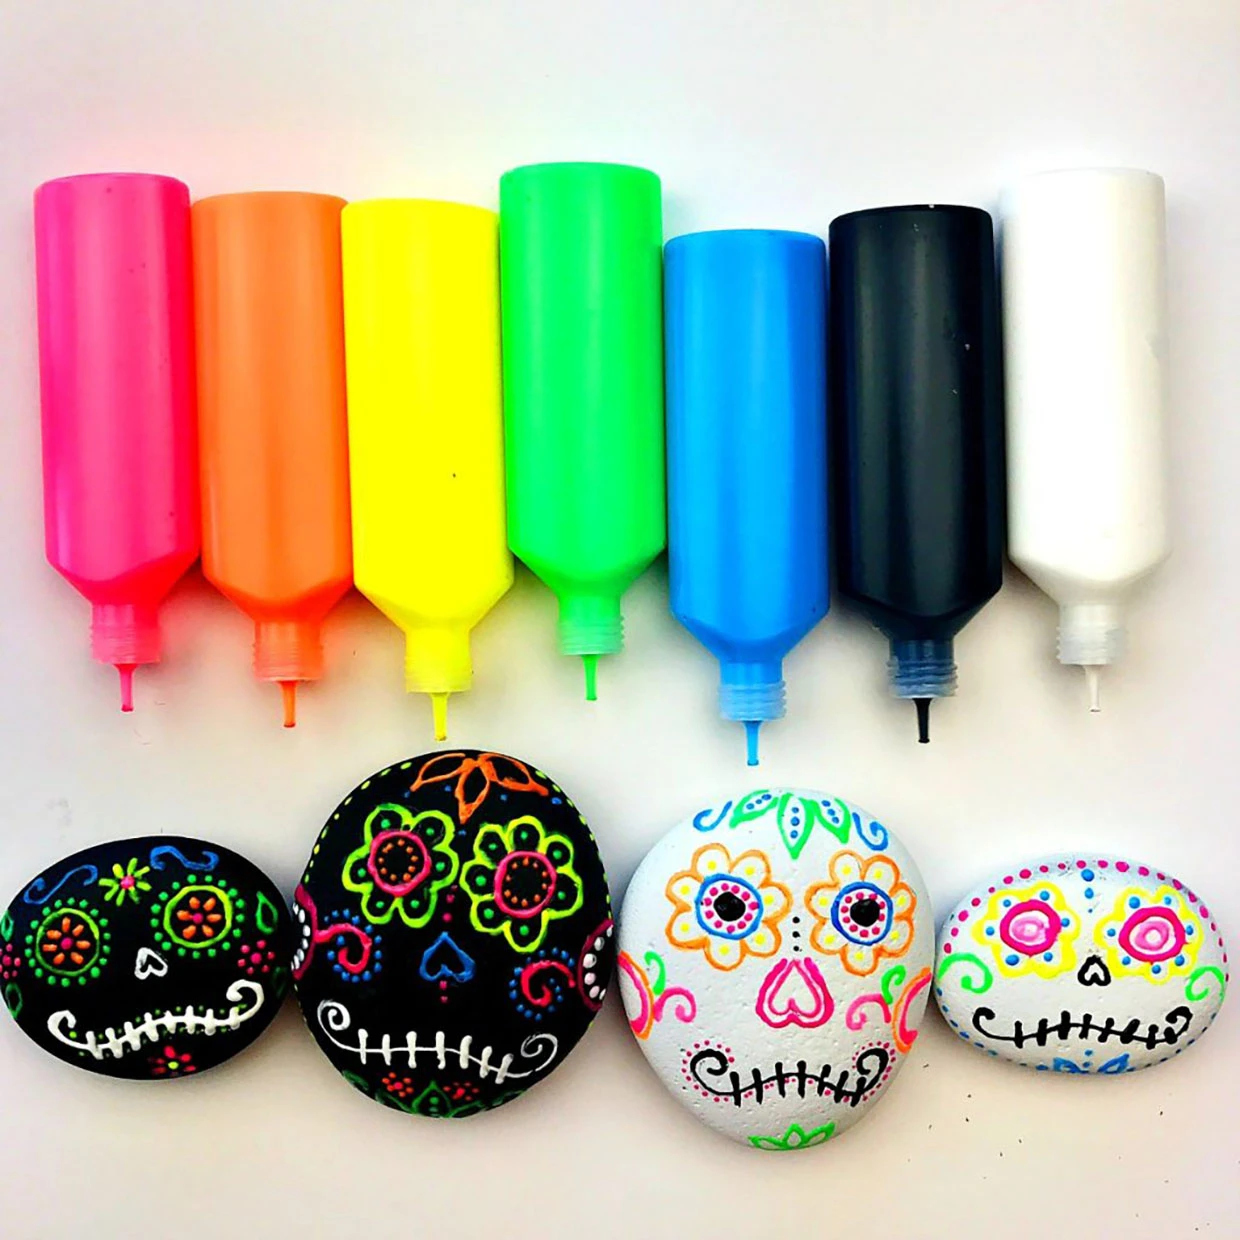
Wait for the paint to dry before adding other colors. If you use a dark color as a base, the color added above cannot be a dark color; if the base color is a light color, the color covering it cannot be a light color. When adding layers of color, there should be a sharp contrast between the colors, otherwise the colors will blend together.
Tear off a small piece of a cleaning sponge, dip it in paint and rub it gently on the stone to create the texture of leaves.
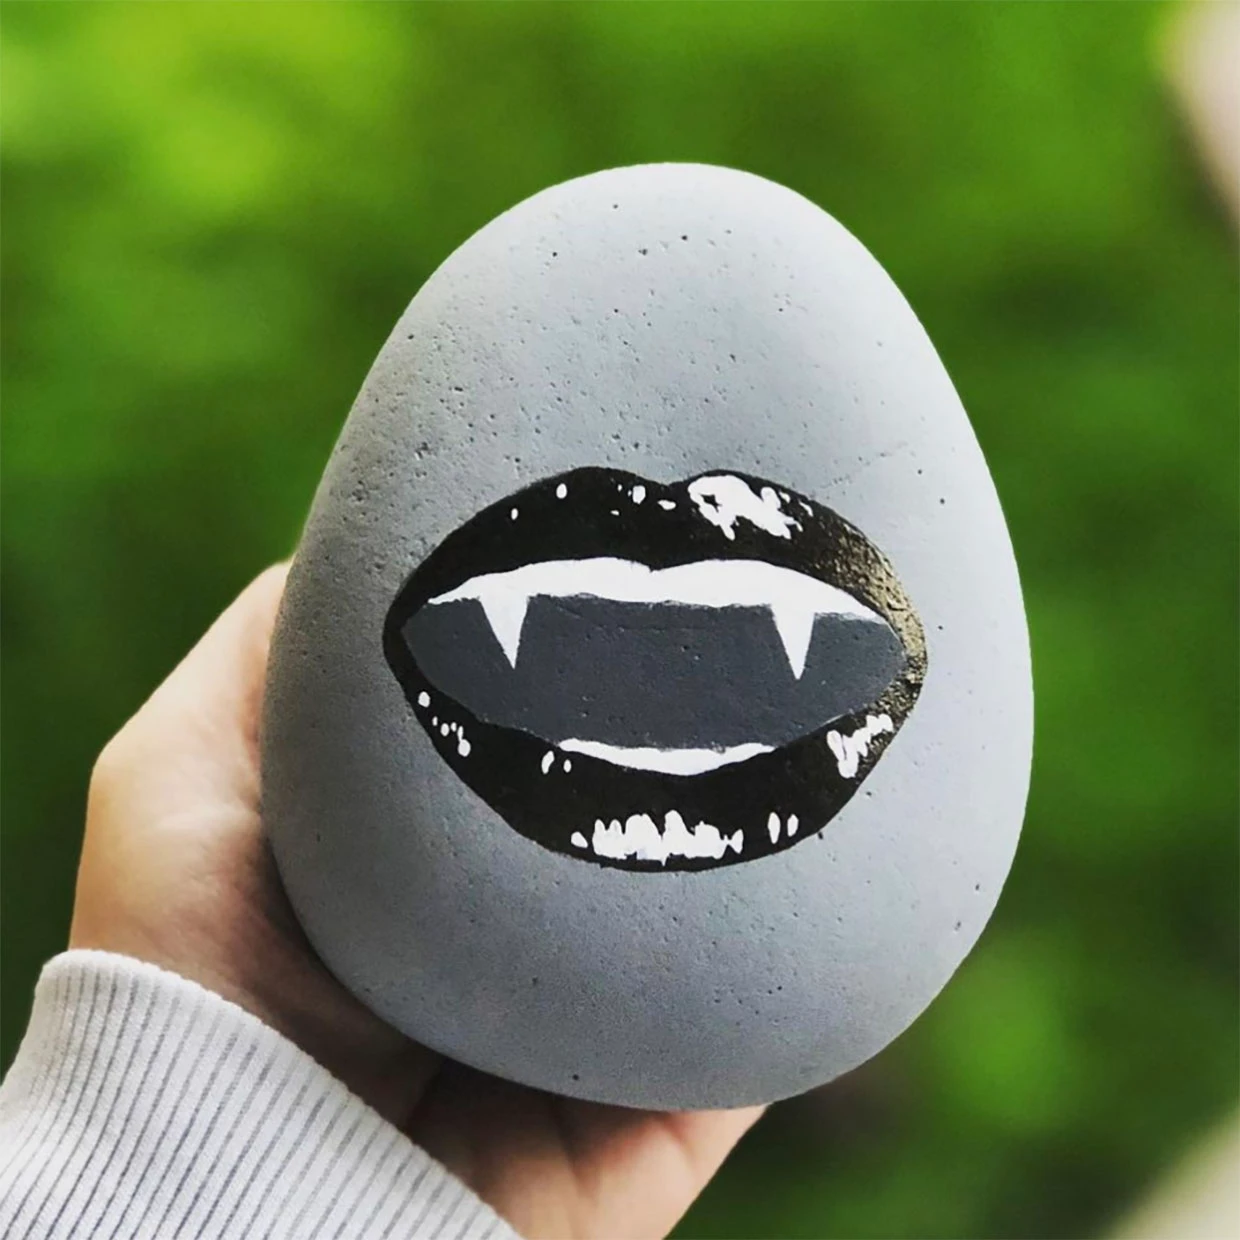
Use a solid color to cover the wrong areas. If one layer is not enough, apply a few more layers until it is no longer visible. You can also change the wrong places into other things, for example, the birds in the sky can be changed into clouds, depending on your Halloween painting ideas.
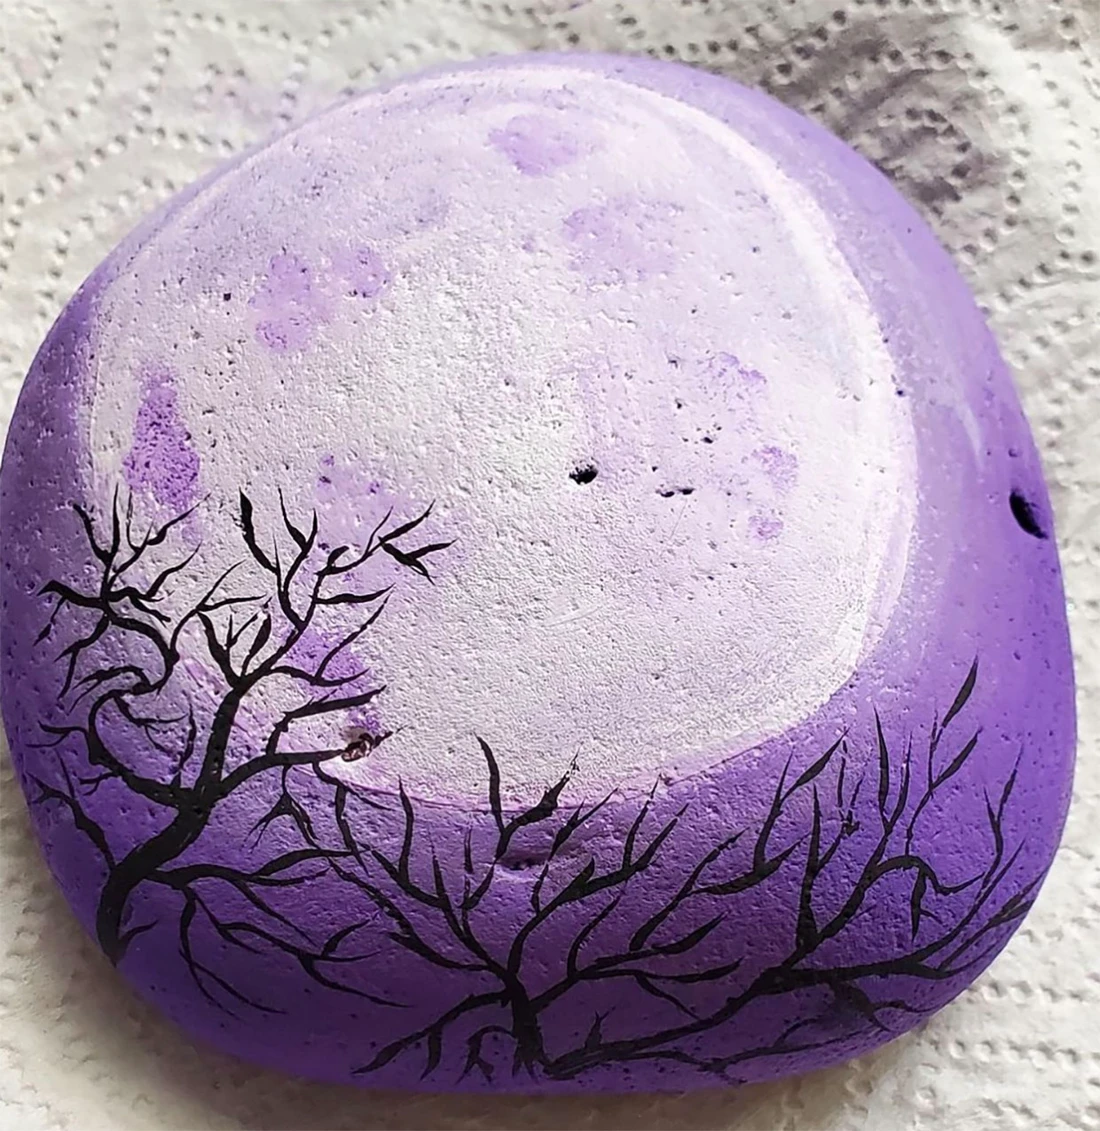
Final work on the rock painting
Drying stones
Place the painted stone in a safe place and do not touch or move it until it is dry. It may take anywhere from a few hours to a day for the paint to dry completely. If you think it’s almost done, double-check to make sure the stone is completely dry. If you want to modify it, you can still change your Halloween painting ideas now.
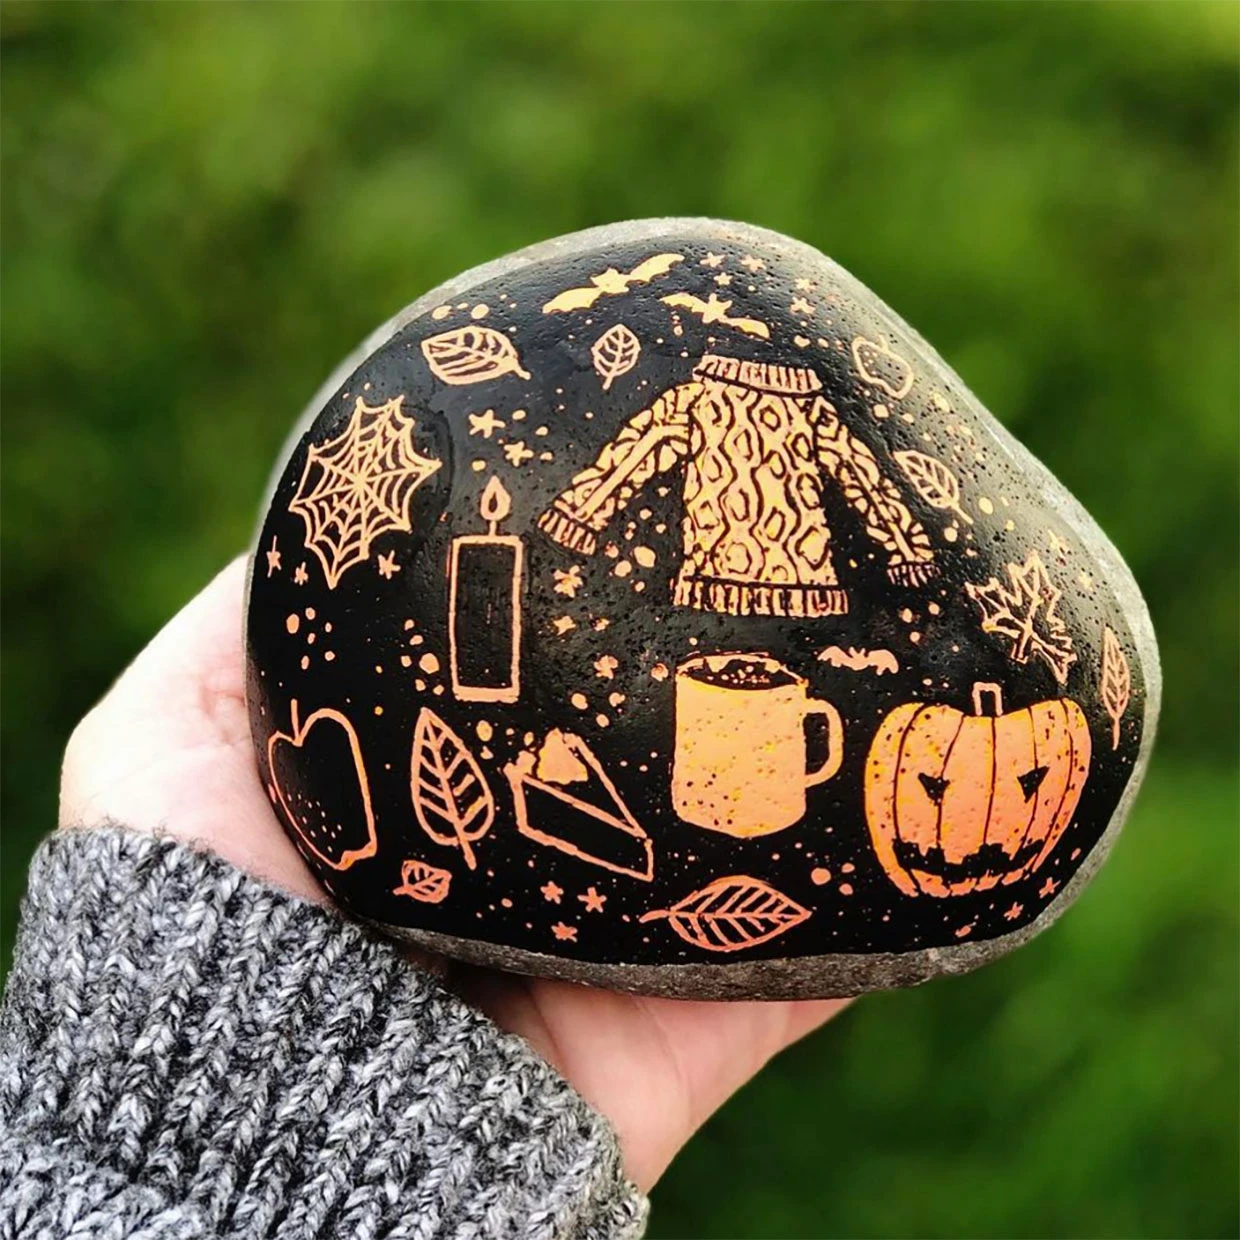
Spray varnish
At least one day after the work is completed, spray the stone with a clear polyurethane topcoat to prevent the paint from cracking and peeling. To avoid inhaling paint mist, it is best to spray paint outdoors or in a well-ventilated room. This step should be done by an adult. Older children can also operate it by themselves under the guidance of adults.
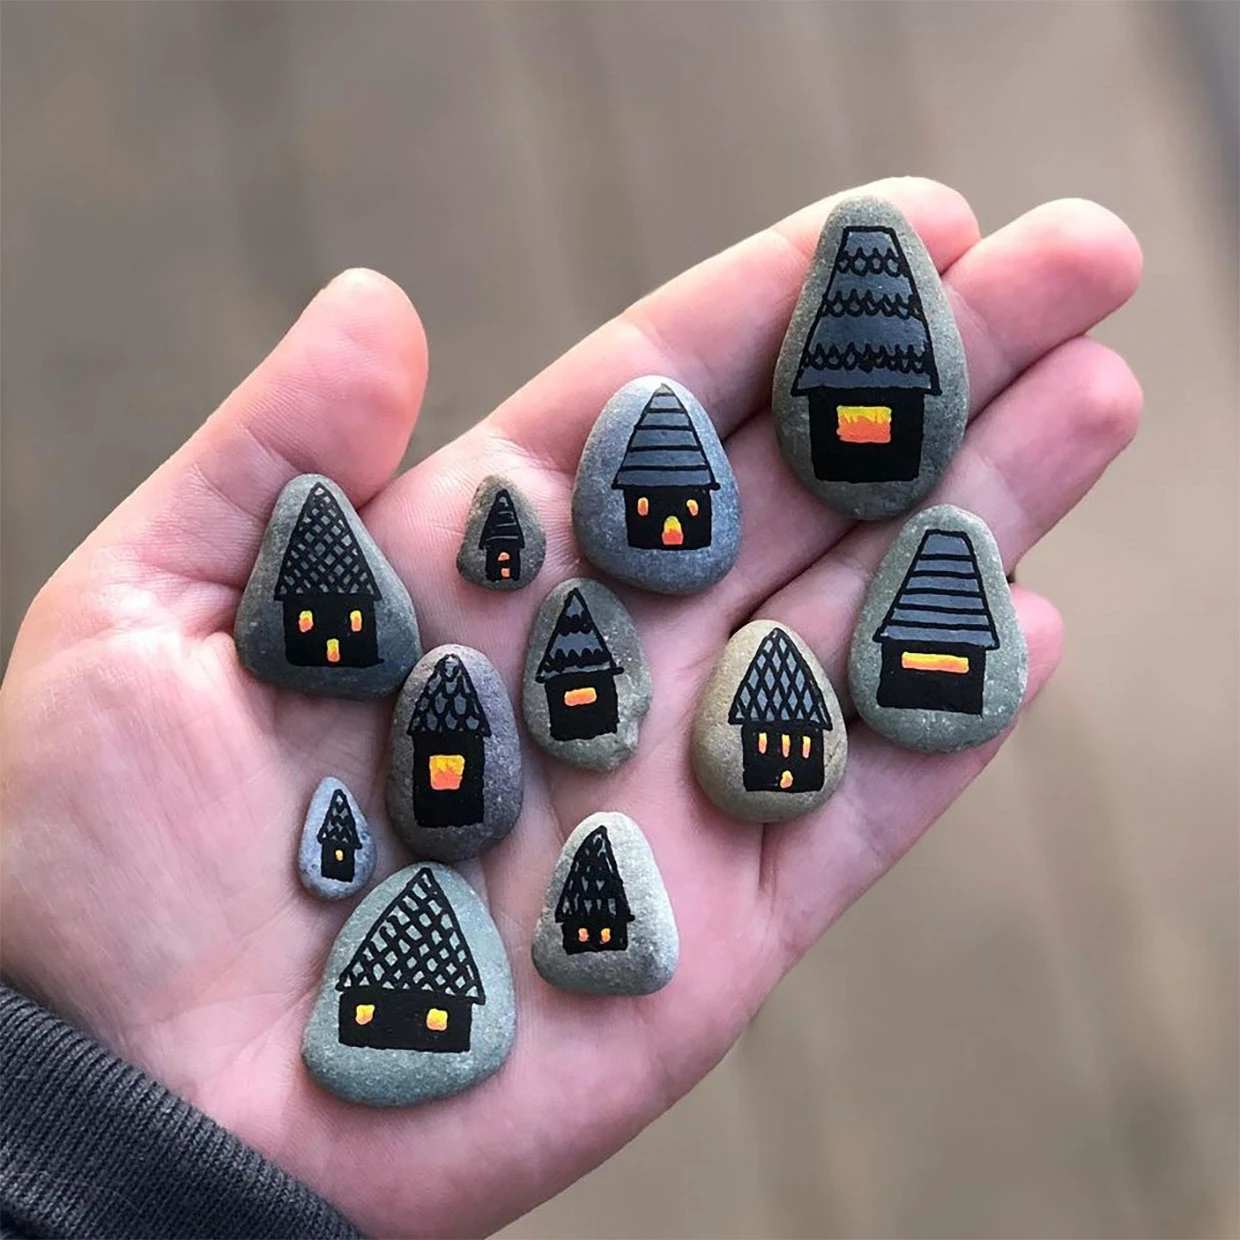
The above is the sharing of the contents of this issue. The next issue will talk about the most recommended Halloween oil paintings and crayon paintings in 2023!
If there is any infringement on the picture, please contact us to delete it.