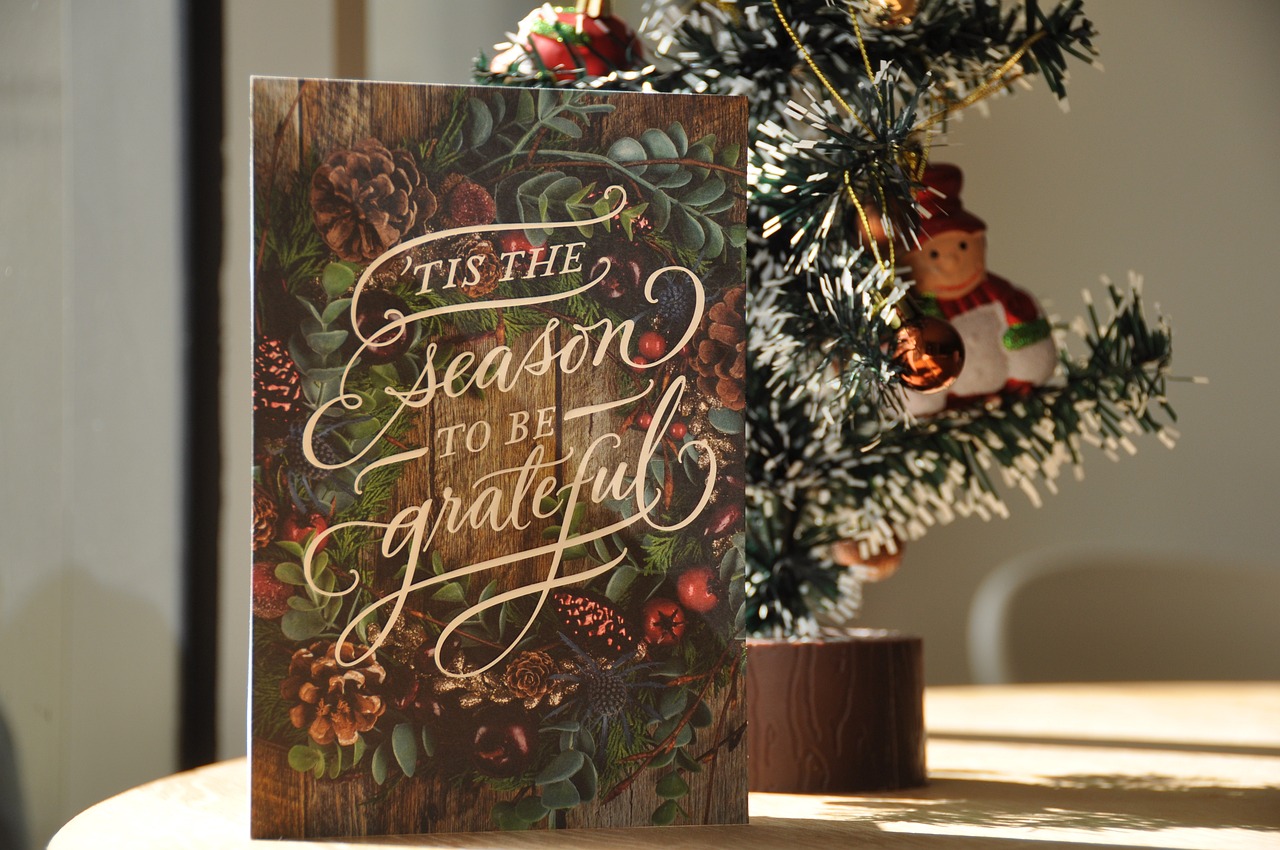
The Importance of Greeting Card Exchange
December is the last month of the year. As the end of the year, it is particularly special. Of course, festivals cannot be avoided in this month, such as Christmas. When it comes to Christmas, what is the first thing that comes to mind? Is it a Christmas tree, a Christmas gift, or a Handmade cards? If these are the manifestations of Christmas, then Christmas cards are the most important carrier. Gift exchange is an important part of the holiday season,
This article will introduce you to different Christmas gift exchange suggestions, different creative greeting card making and ideas, these gift exchange games and ideas are the perfect starting point to bring more holiday fun to this year’s gatherings.

Preparation and materials needed:
First, you need to prepare the different tools and corresponding materials such as felt sheets, and choose felt sheet materials of different colors. Red, green, white and gold are Christmas themed colors. Then there are scissors, a good pair of handy scissors will do more with less, and glue, use strong fabric glue to adhere pieces of felt to card stock or other materials. Cardstock or Blank Cardstock Your felt design will need a sturdy base, cut cardstock to the desired card size or use pre-made blank cardstock as the basis for your design.
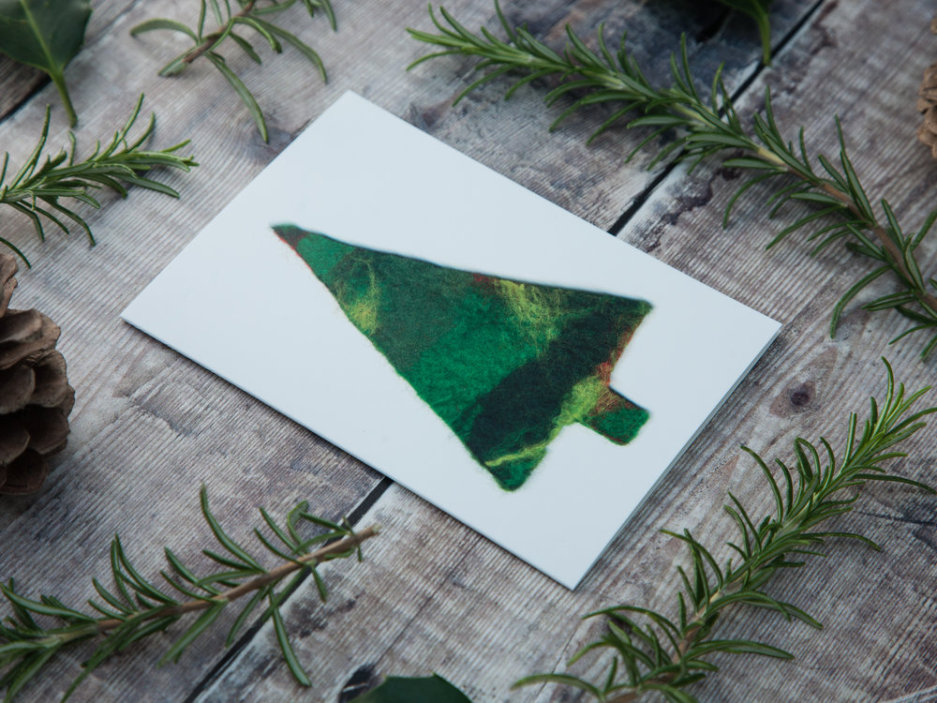
For some embellishment, add extras like sequins, beads or ribbons to the felt card to enhance the beauty. Pencil or marker, use a pencil or material marker to draw your design on the felt before cutting. Templates are required, you can create templates of the shapes you want to include in your vision, these can be printed or drawn on paper and then traced onto felt to cut out. Alternative: A needle and thread can be used to add stitched details or add small embellishments to the felt pieces; once you have gathered all your materials, you can start making your Christmas felt design cards.
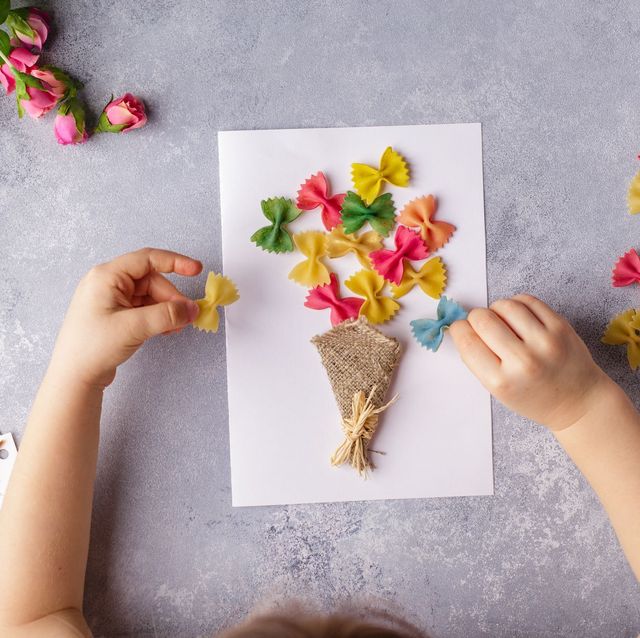
The following is the detailed process:
Use a pencil or other pen to trace your drawing on paper or directly on the felt, deciding on the shape and color you want to use, then use scissors to cut the desired shape out of the felt. Place the felt pieces on cardstock or blank cardstock for ease of use, try different placements depending on the look you want. Once that’s done, it’s time to adhere the felt pieces to the cardstock using fabric glue or a hot glue gun. Apply a small amount of glue to the back of each felt piece and press it firmly to the cardstock.If you want to add any extra embellishments such as sequins or beads. Use glue or needle and thread to keep it in place.
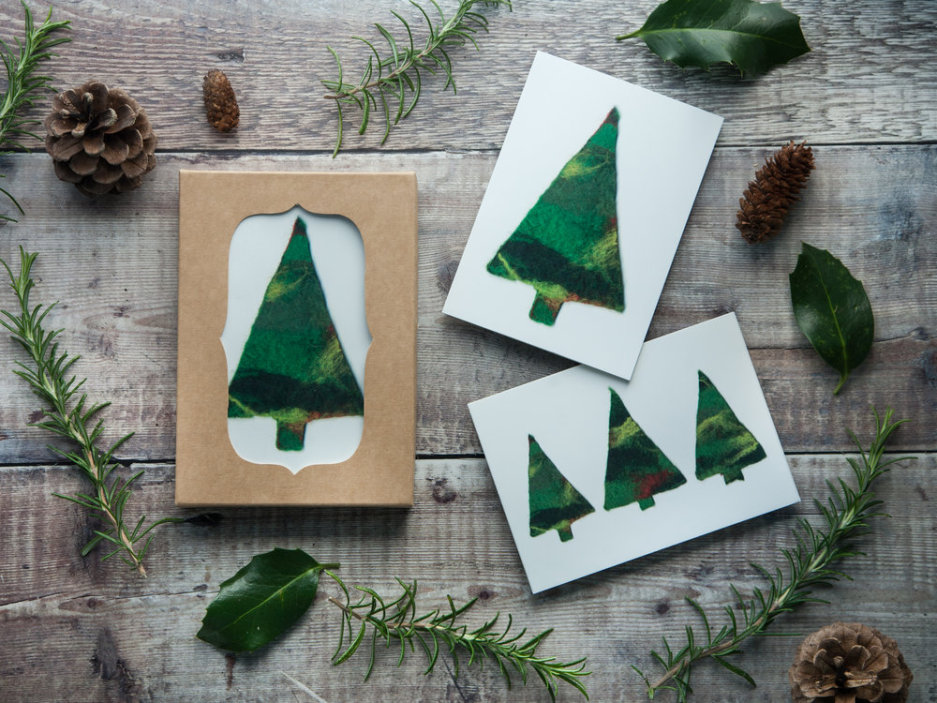
Allow the glue to dry completely before handling or sending the card away. This will ensure that the felt pieces are firmly attached.Personalize the card with a heartfelt message or holiday greetings and you’re done.Express your creativity and exchange Christmas card gift ideas by making Christmas felt design cards. Not only can you enjoy this process, but you can also let your friends feel full of heart and holiday blessings, so hurry up and take action!
Materials for 3D Christmas Tree Card
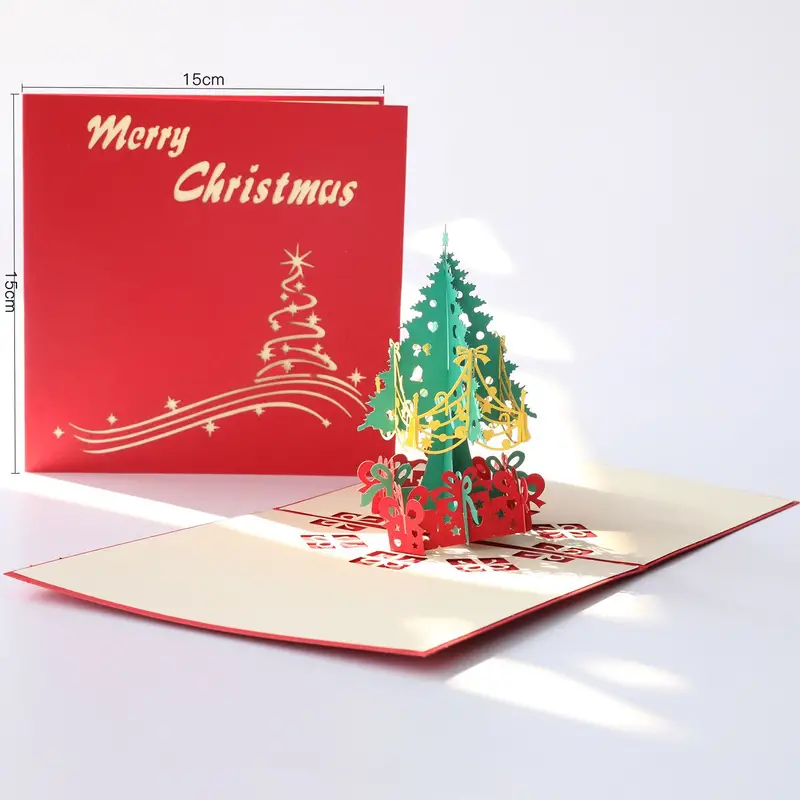
In addition to Christmas felt design cards, there are other Christmas card gift exchange ideas with different styles of materials to choose from. For example, the 3D Christmas tree card Christmas gift exchange idea below is also a very good choice and can be used as a reference for selection;
3D Christmas Cards: Make your cards stand out in just a few steps. Once the music is playing and the craft materials are ready, it’s time to start crafting Christmas cards!
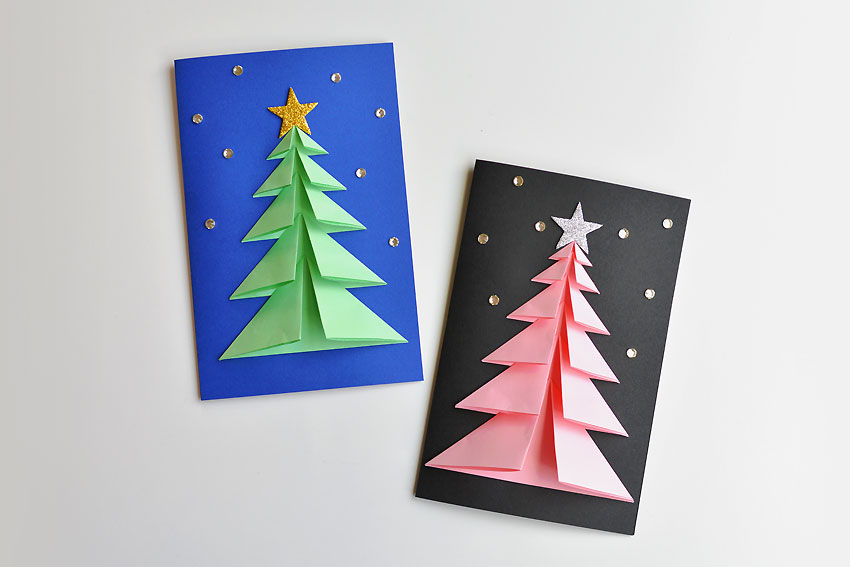
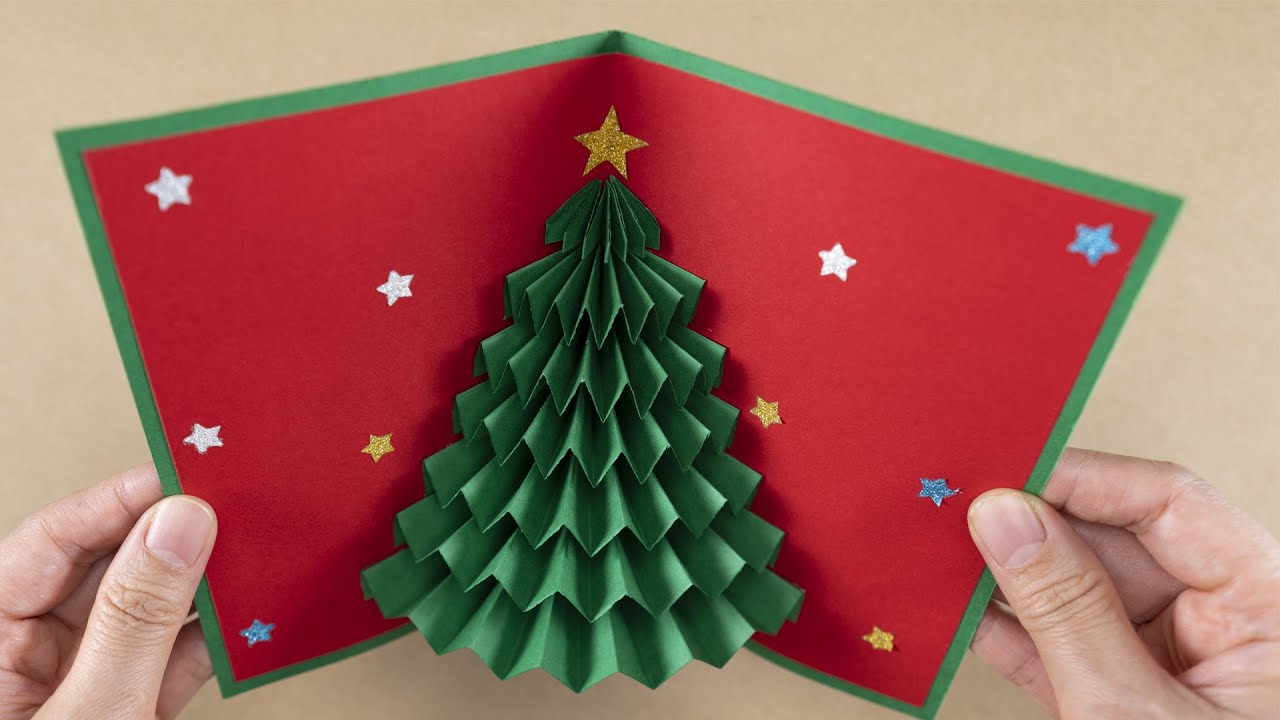
Easy pop-up Christmas cards – love these 3d paper fan Christmas tree cards. How cute are they? This is a quick and easy holiday card using the accordion origami technique. Love the traditional Christmas tree and the white winter tree card version. The best part about this DIY Christmas card is that it doesn’t require any templates to make! All you need is a series of rectangular sheets of paper!
Handmade cards are the perfect way to send a holiday message this year! And you don’t need special materials to make our cards – this Christmas tree card can also be made from simple white paper from the printer – representing Christmas and winter “snowy” landscapes. Make the perfect pop-up Christmas card!
How to make 3D Christmas card and pop-up Christmas tree card?
Making a 3D Christmas card isn’t difficult if you choose the right project! As mentioned, we have a great collection of handmade Christmas cards for you to browse. But the key to making simple cards is to stick to basic shapes that are easy to connect.
First, the preparations and materials needed to make DIY 3D Christmas tree cards: 3D pop-up Christmas tree cards
Easy pop-up Christmas cards – love these 3d paper fan Christmas tree cards. How cute are they? This is a quick and easy holiday card using the accordion origami technique. Love the traditional Christmas tree and white winter tree card versions.
A5 green paper (or white) – this can be construction paper, but I usually use “printer” quality paper for these crafts
A little kraft paper/card
yellow paper fragments of stars
Snowflake Confetti (optional) – I’ve used ours on many projects and it lasts a long time
glue stickؤ
A pair of scissors
ruler
A6 card stock and envelope (I used blue)
How to make a 3D Christmas card
Easy pop-up Christmas cards – love these 3d paper fan Christmas tree cards. How cute are they? This is a quick and easy holiday card using the accordion origami technique. Love the traditional Christmas tree and white winter tree card versions.
Cut this strip into 5cm, 4cm, 3cm, 2cm and 1cm (A5 is actually just a little smaller than 15cm so just adjust each section by a few millimeters!). As stated..this is not accurate. Just make sure you get 5 pieces, it will get smaller every time.
Prepare the paper tree stem and glue it to the pop-up card
Get out your brown paper. You will need approximately 3cm x 3cm.
Fold it in half.
Then fold the edges inward 0.5 mm. So you should have folds: 0.5mm, 1cm, 1cm, 0.5mm
Glue the 0.5mm strip to the card. You now have a “pop-up” steam.
Glue on the paper fan Christmas tree.
Glue the longest strip above the trunk on the left side of the card.
Repeat this step, layering the remaining 4 strips evenly, leaving a little room for the stars.
Once it’s all glued in place. Carefully apply glue to the “up” surface of the strip. This can be a bit tedious…because the accordion likes to bounce around.
Keep it black. Flip the right side of the card and secure to the green strip.
When you open the card, your Paper Fan Christmas Tree should pop up
Final decorating
Easy pop-up Christmas cards – love these 3d paper fan Christmas tree cards. How cute are they? This is a quick and easy holiday card using the accordion origami technique. Love the traditional Christmas tree and white winter tree card versions.
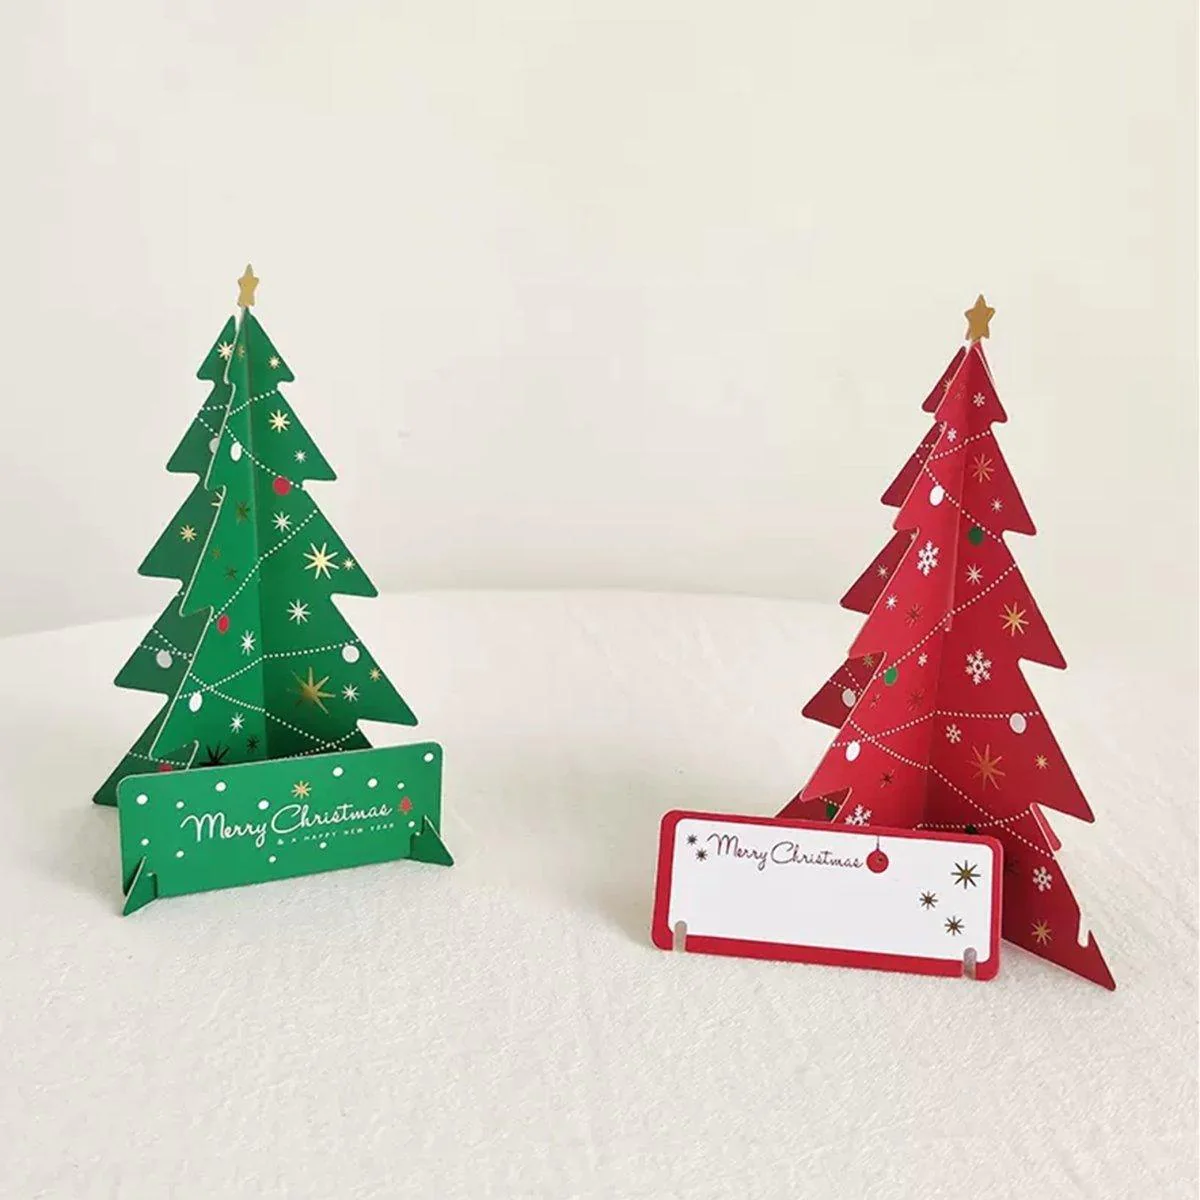
Now have fun – add Christmas stars..snowflakes, night sky stars, Christmas gifts, snowmen… whatever you want! ! Finally, I hope you can gain experience and gain from this article about Christmas gift exchange suggestions – handmade gift cards, and get inspiration for the Christmas cards you want.
