In the realm of cycling, meticulously maintained bikes are the key to unlocking a seamless and enjoyable riding experience. Regular maintenance encompasses a range of tasks, and among them, pedal removal stands as a crucial step. Whether you’re embarking on a thorough cleaning, replacing worn-out bearings, or installing new pedals, understanding the proper techniques for pedal removal is essential. This comprehensive guide will equip you with the knowledge and skills to tackle this task with confidence, ensuring your bike remains in top condition.
Gathering the Necessary Tools and Materials: Setting the Stage for Success
Before embarking on your pedal removal mission, it’s essential to assemble the necessary tools and materials. These include:
-
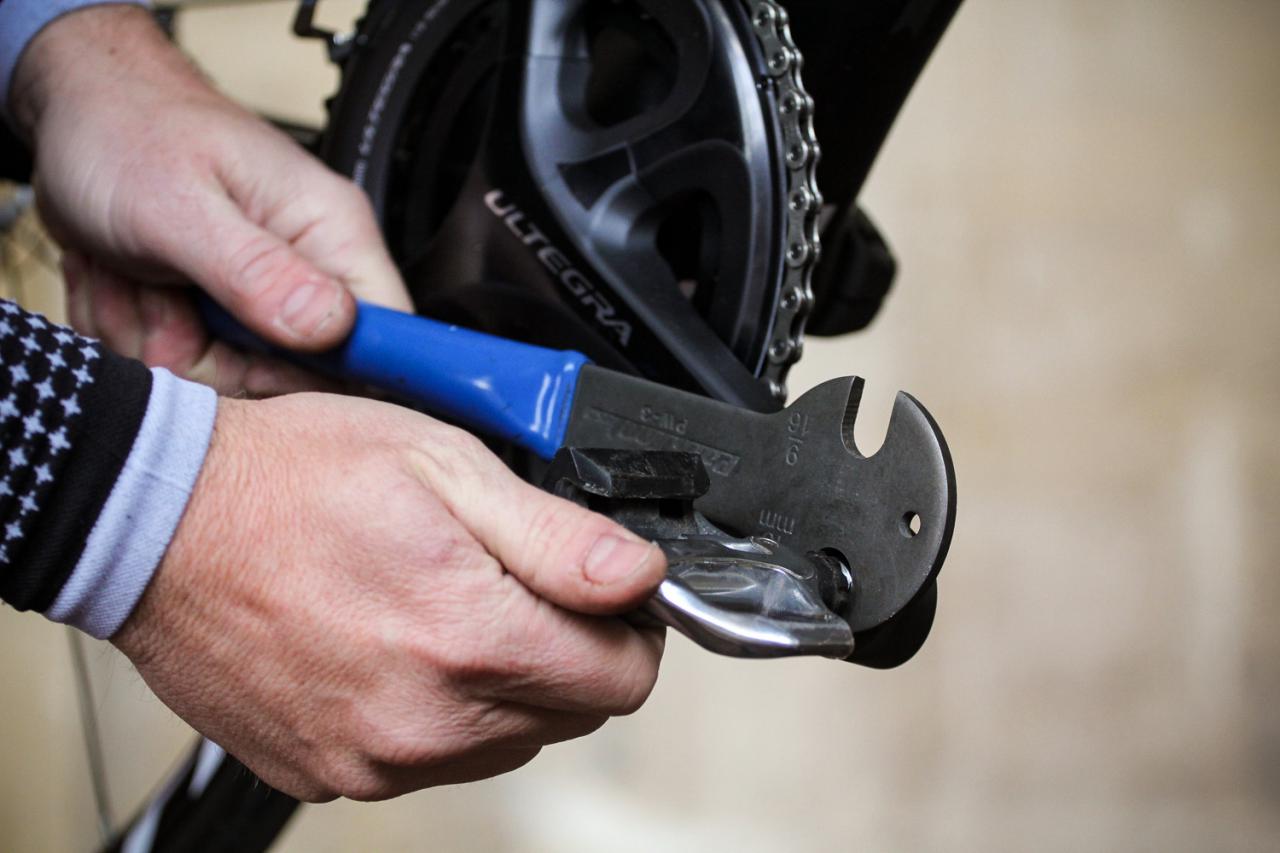
A pedal wrench or Allen key: These specialized tools provide the leverage required to unscrew the pedals from the crank arms. Ensure you have the correct size and type for your specific pedals.
-
A chain whip: This tool aids in keeping the chain taut while unscrewing the pedals, preventing it from slipping or causing damage.
-
A lubricant: Applying a penetrating lubricant to the pedal threads beforehand helps loosen any corrosion or grime, making the removal process smoother.
-
A clean and well-lit workspace: A clear and clutter-free environment ensures you can work safely and efficiently, minimizing the risk of accidents or damage to your bike.
Preparing the Bike for Pedal Removal: Laying the Foundation
With your tools and materials at the ready, it’s time to prepare your bike for pedal removal:
-
Secure the bike in a stable position: Utilize a bike stand or carefully flip the bike upside down to provide a stable base for working on the pedals.
-
Shift the chain onto the smallest cog: This ensures ample slack in the chain, allowing for easy rotation of the pedals during removal.
-
Apply lubricant to the pedal threads: Generously coat the threads of both pedals with penetrating lubricant, allowing it to soak in for a few minutes to loosen any stubborn grime.
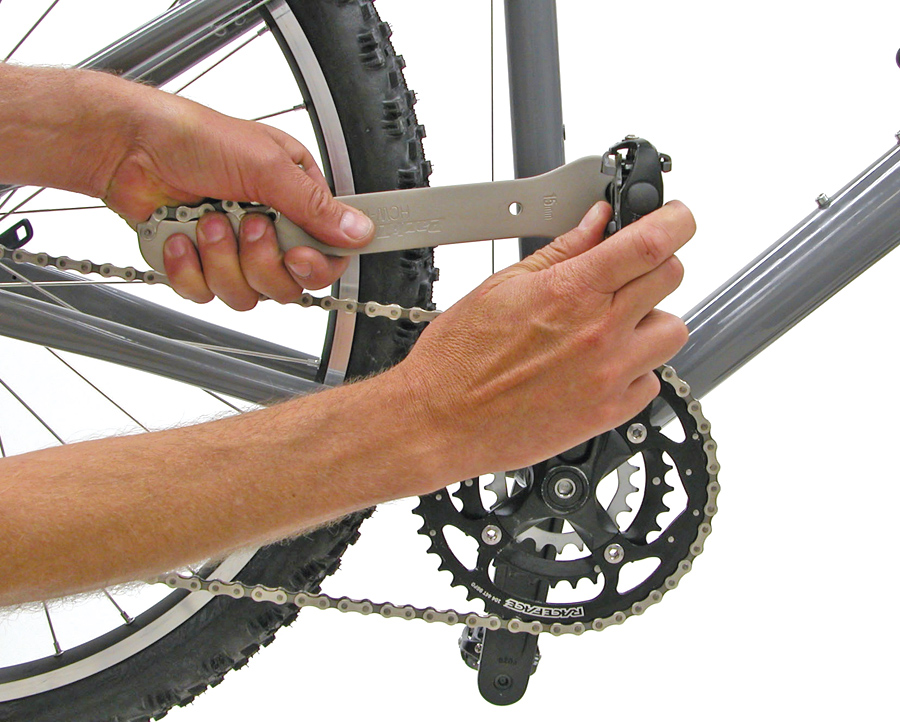
Removing the Left Pedal: Conquering the Non-Drive Side
Now, let’s tackle the left pedal, the non-drive side:
-
Identify the left pedal: Locate the pedal on the left side of the bike, typically opposite the chainring.
-
Locate the locknut or dust cap: Identify the locknut or dust cap on the non-drive side, which protects the threads from dirt and debris.
-
Secure the spindle: Using the appropriate pedal wrench or Allen key, firmly hold the spindle of the left pedal in place.
-
Unscrew the pedal: Turn the locknut or dust cap counterclockwise with a wrench or use the pedal wrench to unscrew the left pedal from the crank arm.
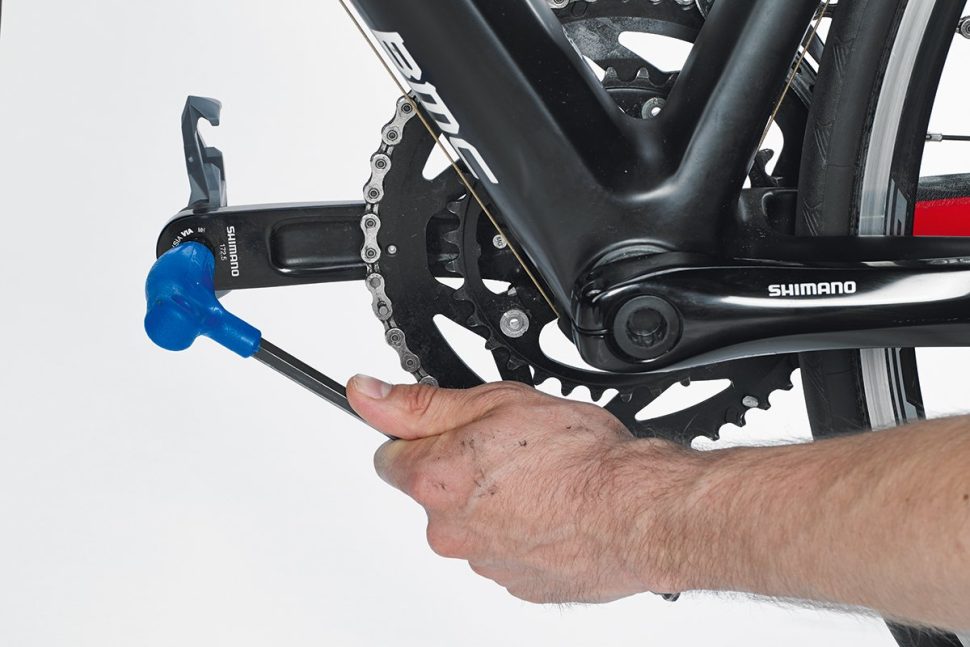
Removing the Right Pedal: Tackling the Drive Side
With the left pedal successfully removed, it’s time to tackle the right pedal, the drive side:
-
Identify the right pedal: Locate the pedal on the right side of the bike, typically near the chainrings. Next, locate the locknut or dust cap on the drive side, which protects the threads from dirt and debris. Then, secure the spindle: Using the appropriate pedal wrench or Allen key, firmly hold the spindle of the right pedal in place. Finally, unscrew the pedal: Turn the locknut or dust cap clockwise with a wrench or use the pedal wrench to unscrew the right pedal from the crank arm.
Tips for Stubborn Pedals: Overcoming Resistance
If you encounter stubborn pedals that resist your efforts, here are some helpful tips:
-
Relubricate: Apply additional penetrating lubricant to the threads and allow it to soak in for a longer period.
-
Utilize the chain whip: Employ the chain whip to provide extra leverage when unscrewing the pedals.
-
Seek professional assistance: If the pedals remain stuck despite these measures, consult a knowledgeable mechanic for assistance.
Cleaning and Inspecting the Pedals and Crank Arms: Restoring and Assessing
Once the pedals have been successfully removed, it’s time to clean and inspect them:
-
Thoroughly clean the pedals: Remove any dirt, grease, or debris from the pedals using a degreaser and a brush.
-
Clean the crank arms: Wipe down the crank arms to remove any dirt or grime accumulated during the removal process.
-
Inspect the pedal threads and crank arms: Examine the threads of the pedals and crank arms for signs of damage or wear.
-
Replace worn components: If you notice any worn-out components, such as bearings or seals, consider replacing them to ensure optimal performance.
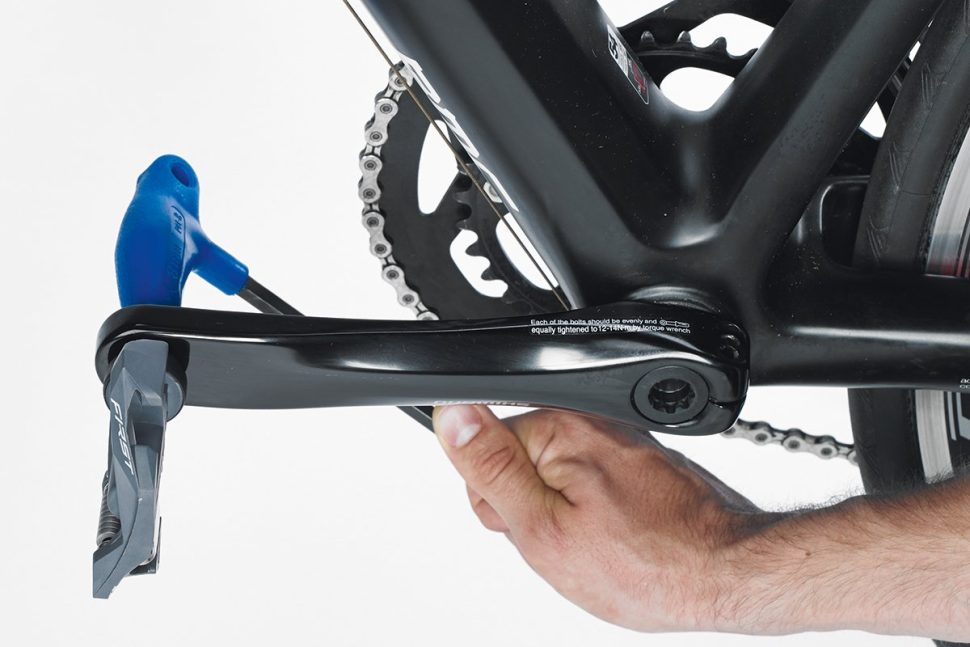
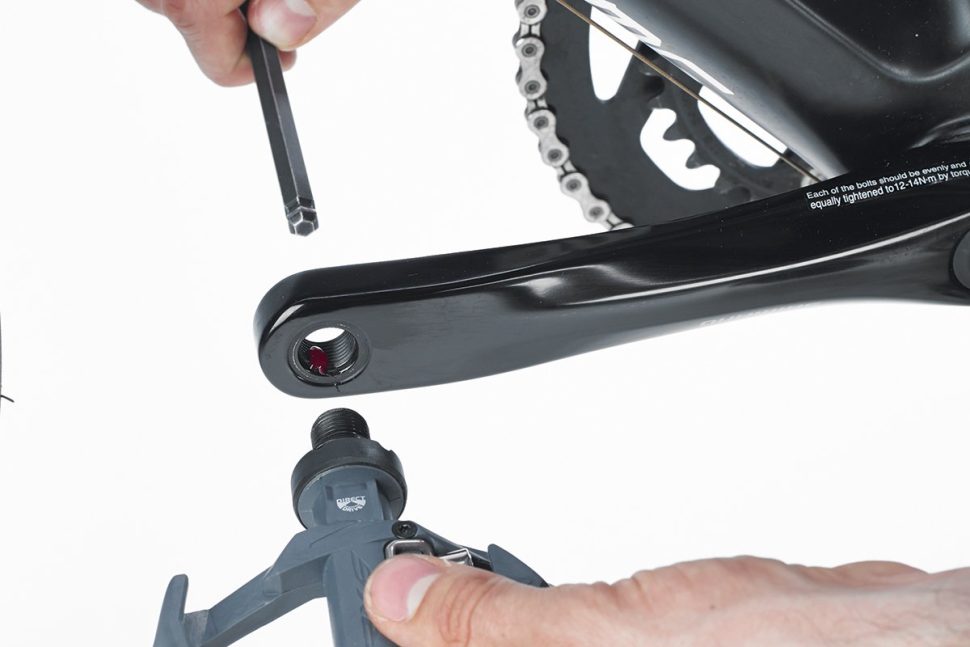
Reinstalling the Pedals: Putting It Back Together
With the pedals cleaned and inspected, it’s time to reinstall them:
-
Apply grease to the threads: Apply a thin layer of grease to the threads of both pedals and crank arms to ensure smooth operation and prevent corrosion.
-
Align the pedals: Carefully align the threads of the pedals with the corresponding threads on the crank arms.
-
Screw the pedals in by hand: Initially screw the pedals back into place by hand as far as possible to ensure proper alignment.
-
Tighten the pedals: Using the appropriate pedal wrench or Allen key, tighten the pedals firmly, ensuring they are securely fastened but not overtightened. Overtightening can damage the threads or crank arms.
-
-
Safety Precautions and Troubleshooting: Maintaining a Safe and Smooth Process
While performing bike maintenance, safety is paramount. Here are some key precautions to remember:
-
Wear safety glasses: Protect your eyes from flying debris that may occur during the removal or installation process.
-
Avoid excessive force: Refrain from using excessive force when removing or installing the pedals. This can damage the components and make future maintenance more challenging.
-
Seek professional help: If you encounter any difficulties or have concerns during the process, don’t hesitate to seek assistance from a qualified bike mechanic.
Maintaining Your Bike for a Smooth Ride: A Journey of Empowerment
Regular bike maintenance, including removing and cleaning the pedals, is essential for extending the lifespan of your bike and ensuring a smooth and safe riding experience. By equipping yourself with the knowledge and skills outlined in this guide, you gain the power to tackle this task with confidence, fostering a sense of accomplishment and a deeper connection with your bike. Remember, consulting your bike’s owner’s manual for specific instructions and recommendations for your model is always a wise practice. So, the next time your bike needs some TLC, don’t be intimidated by pedal removal. Embrace the opportunity to learn, maintain your trusty steed, and continue pedaling towards a lifetime of joyful cycling adventures.
-