 Introduction
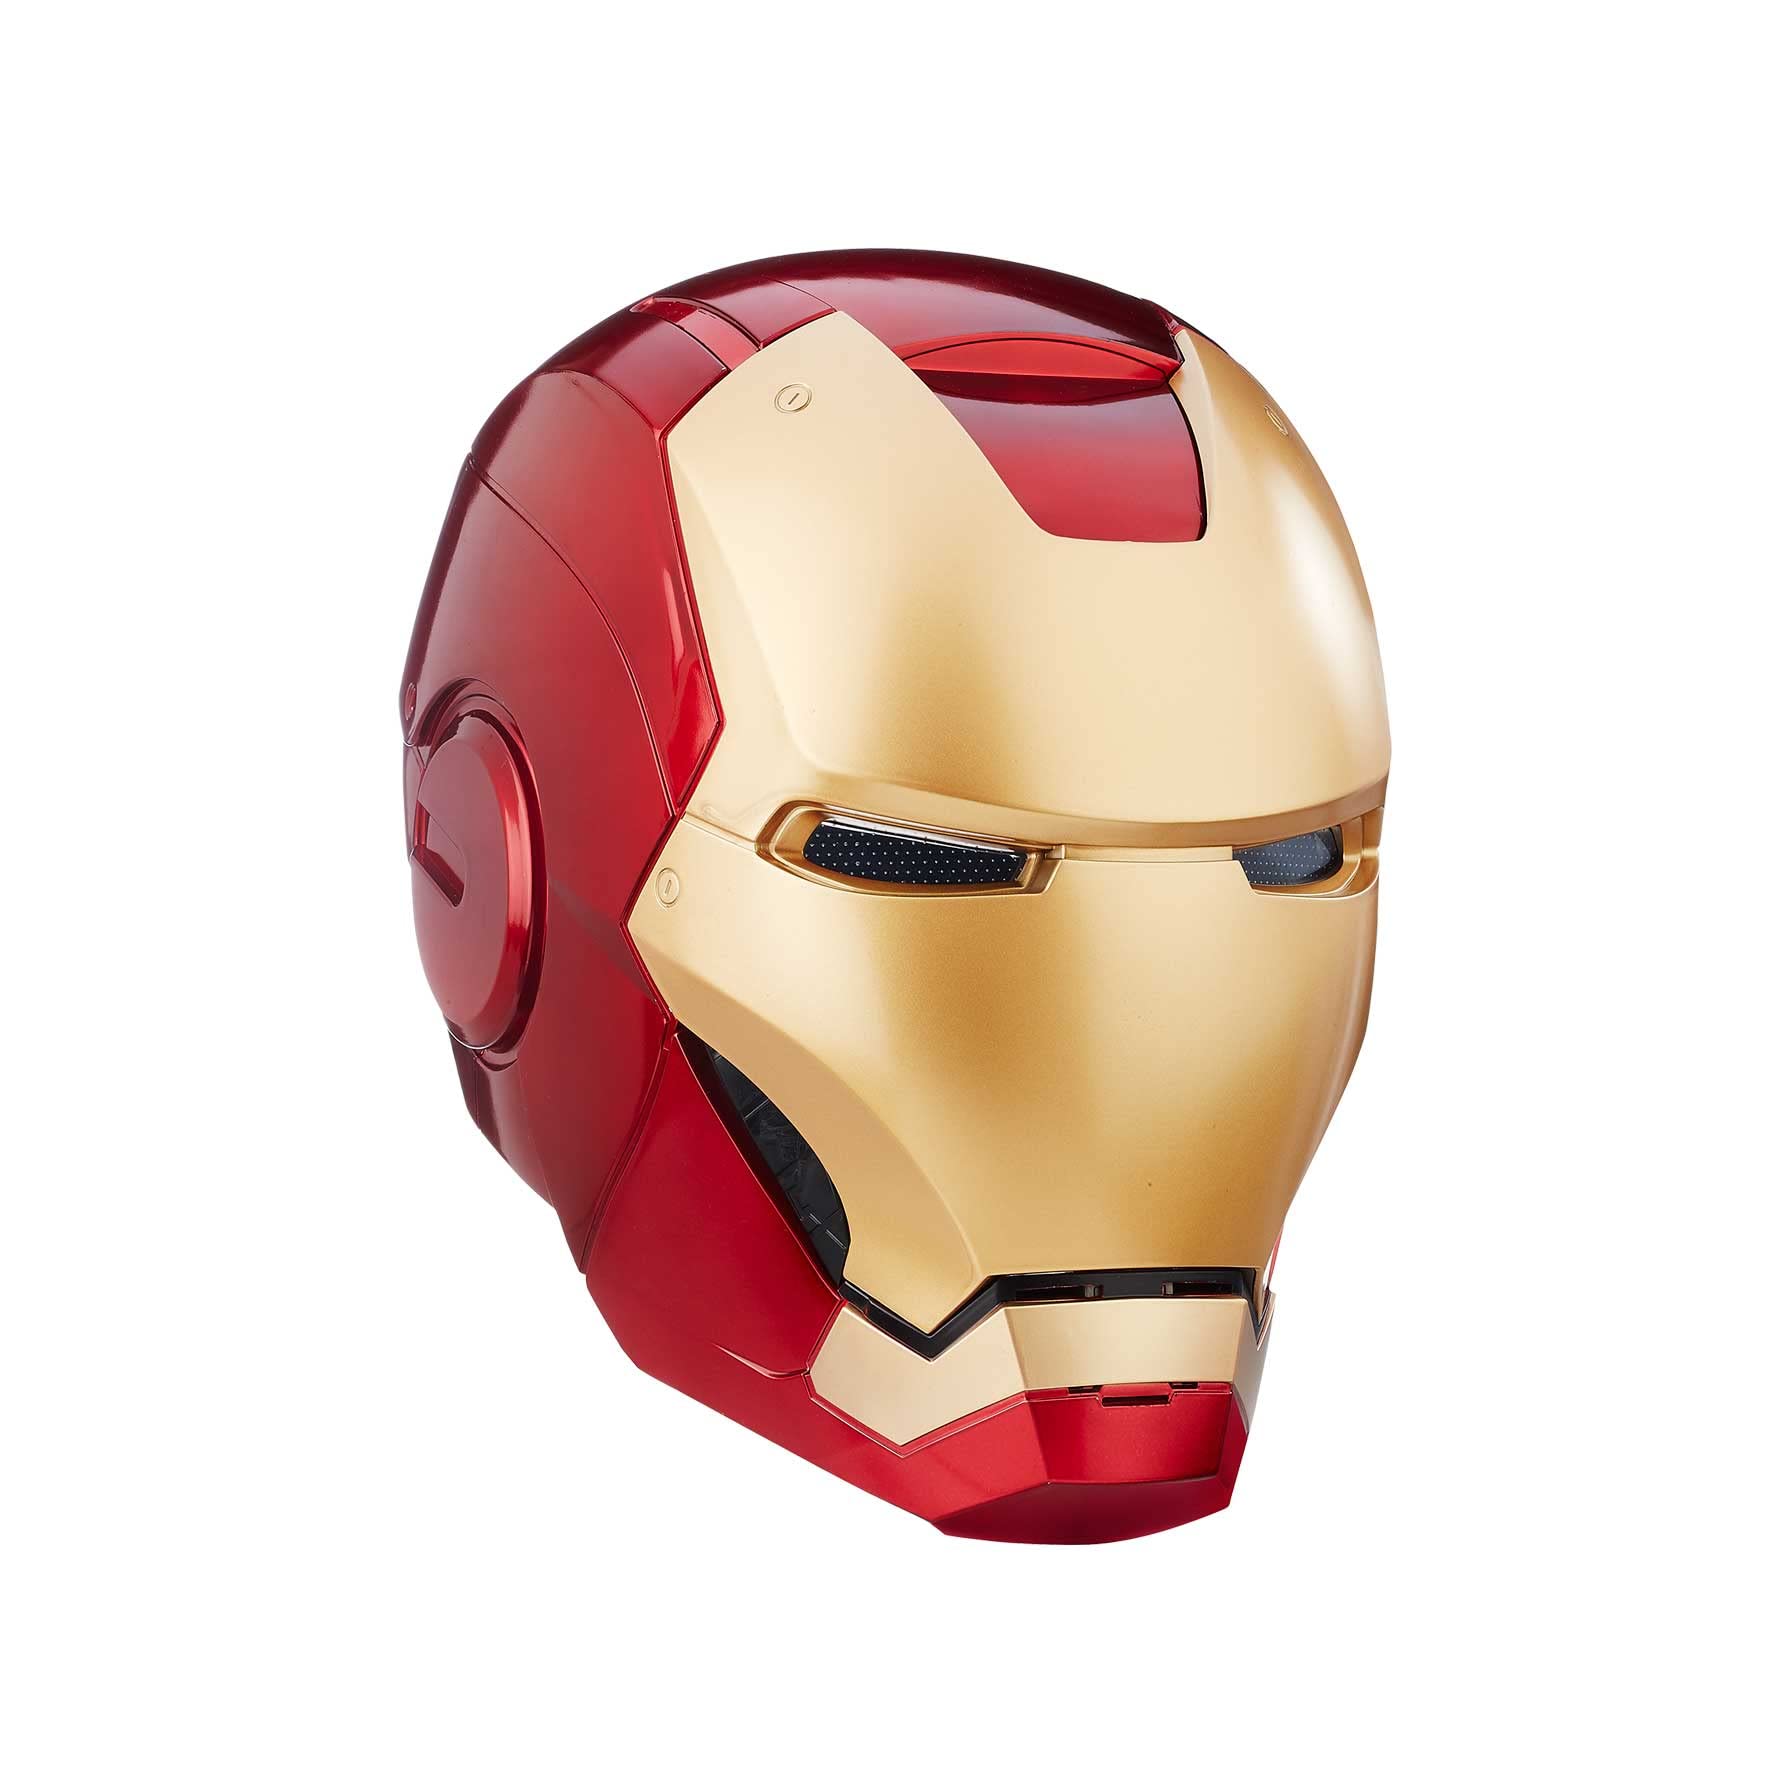
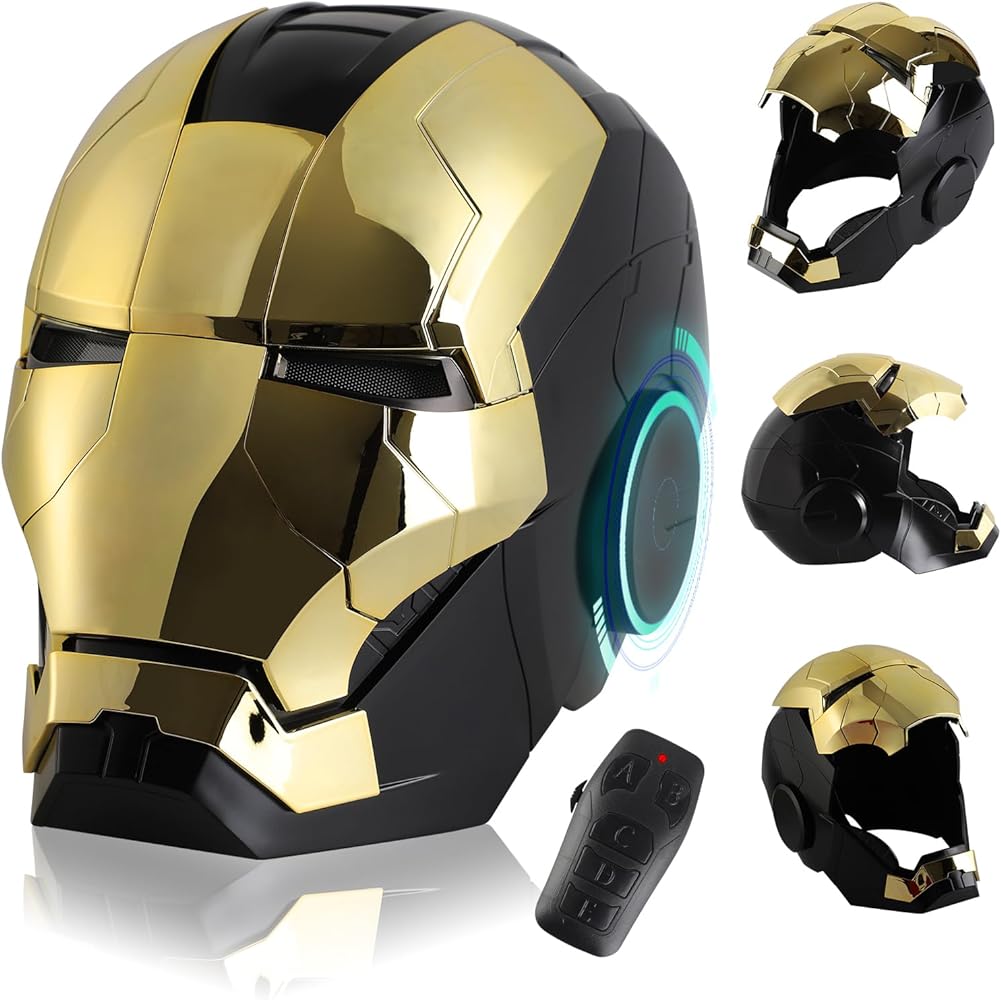
In the realm of superheroes, few figures stand as iconic and beloved as Iron Man, the armored crusader created by Stan Lee, Larry Lieber, Don Heck, and Jack Kirby in 1963. His signature suit, particularly the helmet, has captured the imagination of countless fans worldwide, inspiring a surge of individuals seeking to recreate this remarkable piece of technology.
Crafting and wearing an Iron Man helmet is a challenging yet rewarding endeavor that demands dedication, creativity, and a passion for craftsmanship. This comprehensive guide will delve into the intricacies of this process, equipping you with the knowledge and skills to bring your Iron Man helmet dreams to life.
Gathering Inspiration and Choosing a Design
The journey towards crafting your own Iron Man helmet begins with gathering inspiration and selecting a design that aligns with your preferences and skill level. Numerous resources are available, including comic books, movies, video games, and fan-made creations.
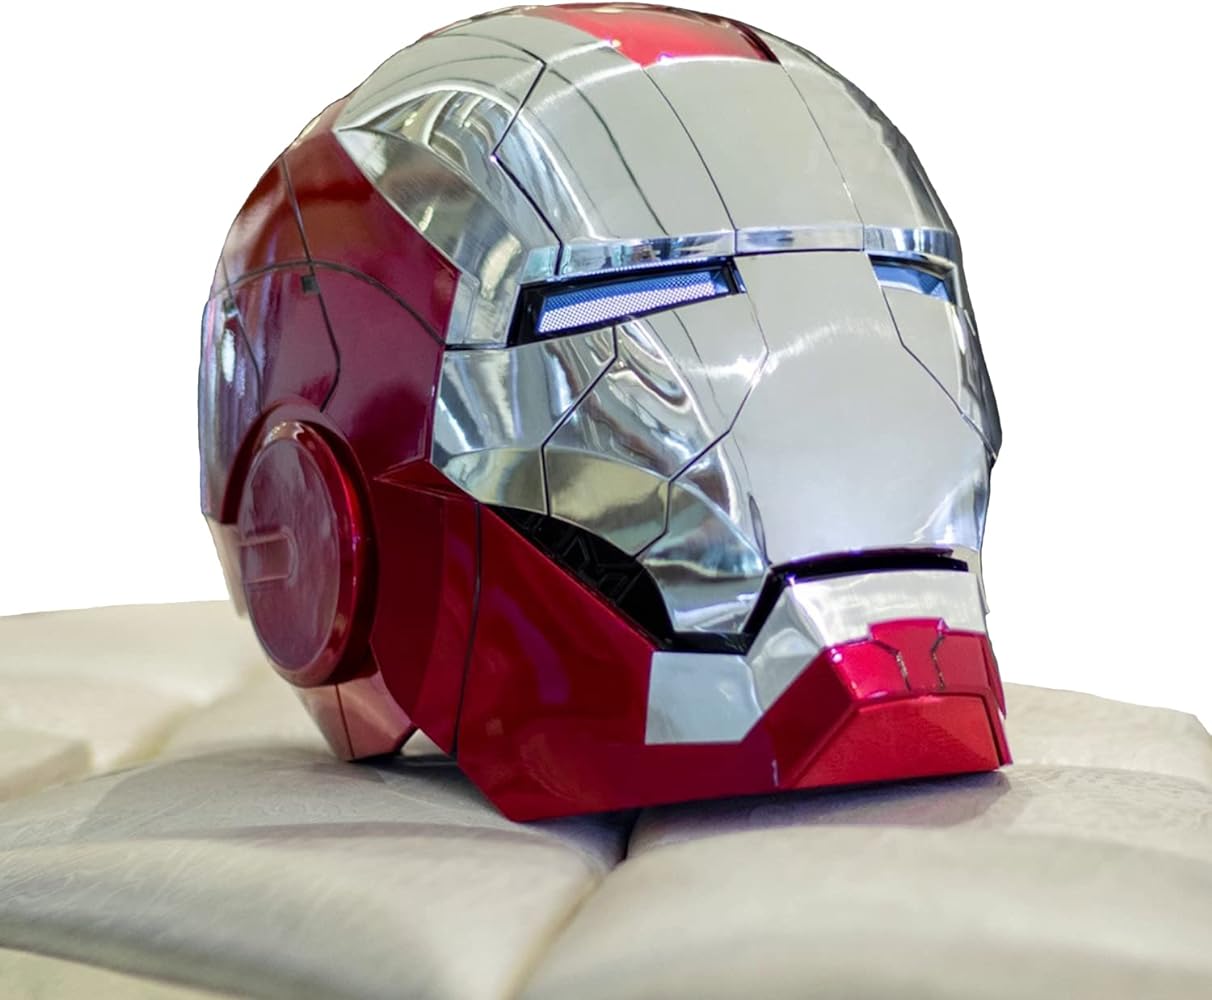
Consider factors such as the desired era of Iron Man suit, the complexity of the design, and your access to materials and tools. Novice crafters may opt for simpler designs, such as the classic Mark I suit, while experienced individuals can tackle more intricate builds, such as the advanced Mark L or Mark XLIII suits.
Creating a Blueprint and Acquiring Materials
Once you’ve selected a design, it’s time to create a detailed blueprint. This involves breaking down the helmet into individual components, sketching each piece, and determining the dimensions. The blueprint serves as a roadmap throughout the crafting process, ensuring accuracy and preventing missteps.
Next, gather the necessary materials, considering the chosen design and construction method. Common materials include cardboard, foam, resin, fiberglass, and various hardware components. Ensure you have adequate workspace and ventilation when working with materials like resin and fiberglass, as fumes can be harmful.
Shaping the Helmet Base
With the blueprint and materials in hand, begin shaping the helmet base. Cardboard is a popular choice for beginners due to its ease of manipulation and low cost. Use sharp cutting tools and craft glue to assemble the basic structure, following the blueprint precisely.
For more advanced builds, foam can be used to create a smoother and more refined base. Use an electric carving knife or hot wire to shape the foam, following the blueprint carefully. Sand the foam to achieve a smooth surface for further detailing.
Adding Details and Features
Once the helmet base is complete, it’s time to add the intricate details and features that bring it to life. This stage involves cutting out individual components like the faceplate, arc reactor, and side panels, ensuring precise alignment with the blueprint.
Use a variety of techniques, such as carving, sculpting, and 3D printing, to create the desired level of detail. For a more realistic appearance, consider incorporating reflective materials, LED lights, and small electronic components to mimic the suit’s advanced technology.
Applying a Protective Layer and Painting
To protect the helmet and enhance its visual appeal, apply a protective layer. Resin is a common choice, providing a durable and smooth surface for painting. Apply multiple thin coats, allowing each layer to dry completely before proceeding to the next.
Once the protective layer is cured, it’s time to paint the helmet. Use high-quality acrylic paints or automotive spray paint to achieve a professional finish. Refer to the chosen Iron Man suit design for accurate color schemes and markings.
Assembling the Helmet and Adding Finishing Touches
With the individual components painted and dry, carefully assemble the helmet, ensuring all parts fit securely. Use strong adhesives, rivets, or screws as needed to maintain structural integrity.
Add finishing touches to enhance realism and functionality. Consider incorporating a visor, padding for comfort, and a ventilation system to prevent overheating.
Creating and Attaching the Visor
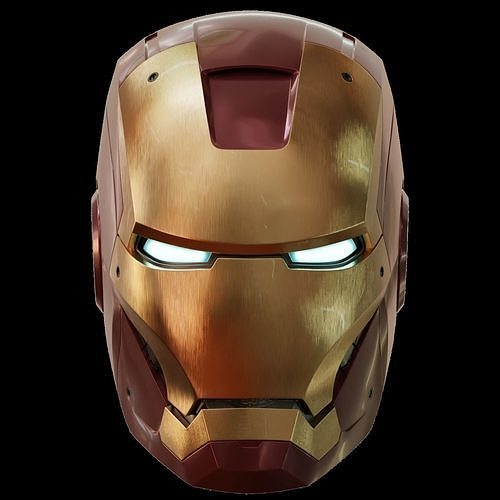
The visor plays a crucial role in the Iron Man helmet’s aesthetics and functionality. Use transparent acrylic or polycarbonate sheets to create the visor, ensuring it fits the faceplate opening precisely.
Attach the visor using hinges or magnets, allowing it to open and close smoothly. Consider adding a tinting film or electronics to mimic the HUD (Heads-Up Display) functionality seen in the movies.
Crafting and Attaching the Arc Reactor
The arc reactor, the heart of Iron Man’s suit, is a distinctive feature that adds a touch of technological brilliance. Use LED lights, resin casting, and various electronic
components to create a glowing arc reactor. Securely attach the arc reactor to the chest piece of the helmet, ensuring the wiring is concealed and protected. Experiment with different lighting patterns and colors to achieve the desired effect.
Ensuring Comfort and Fit
While aesthetics are important, comfort is equally crucial. Craft a comfortable padding system using soft materials like EVA foam or fabric. Ensure the padding allows for a snug yet comfortable fit, preventing the helmet from wobbling or causing pressure points.
Safety and Ventilation Considerations
Safety and ventilation are paramount when wearing an Iron Man helmet. Ensure the visor offers clear visibility and doesn’t obstruct your peripheral vision. Incorporate a ventilation system, such as strategically placed mesh panels, to prevent fogging and overheating.
Taking Your Creation to the Next Level
For an extra touch of realism and functionality, consider incorporating additional features. These can include voice changers for a more immersive experience, sound effects modules to replicate suit sounds, and even internal lighting for a more dramatic effect.
Showcasing Your Masterpiece
Once your Iron Man helmet is complete, it’s time to showcase your masterpiece! Participate in cosplay events, conventions, or even organize a photoshoot to display your creation with pride. Share your work online to connect with fellow Iron Man enthusiasts and inspire others to embark on their own crafting journeys.
Conclusion
Crafting an Iron Man helmet is a rewarding experience that allows you to unleash your creativity and express your passion for this iconic superhero. With dedication, skill, and the guidance provided in this comprehensive guide, you can turn your dream helmet into a tangible reality. Remember, the journey is just as important as the destination. Embrace the learning process, experiment with different techniques, and most importantly, have fun! With a little effort and ingenuity, you can don your very own Iron Man helmet and experience the thrill of becoming a superhero, even if for a day.