Sewing darts is an essential technique in garment construction. Darts allow fabric to contour to the body’s shape, creating a better fit and enhancing the overall appearance of clothing. For beginners, mastering darts can seem intimidating. However, with practice and guidance, this sewing technique becomes manageable and rewarding. In this article, we will explore the basics of sewing darts, the types of darts, step-by-step instructions, and tips to help you become a confident sewist.
Understanding Darts and Their Purpose
What Are Darts?
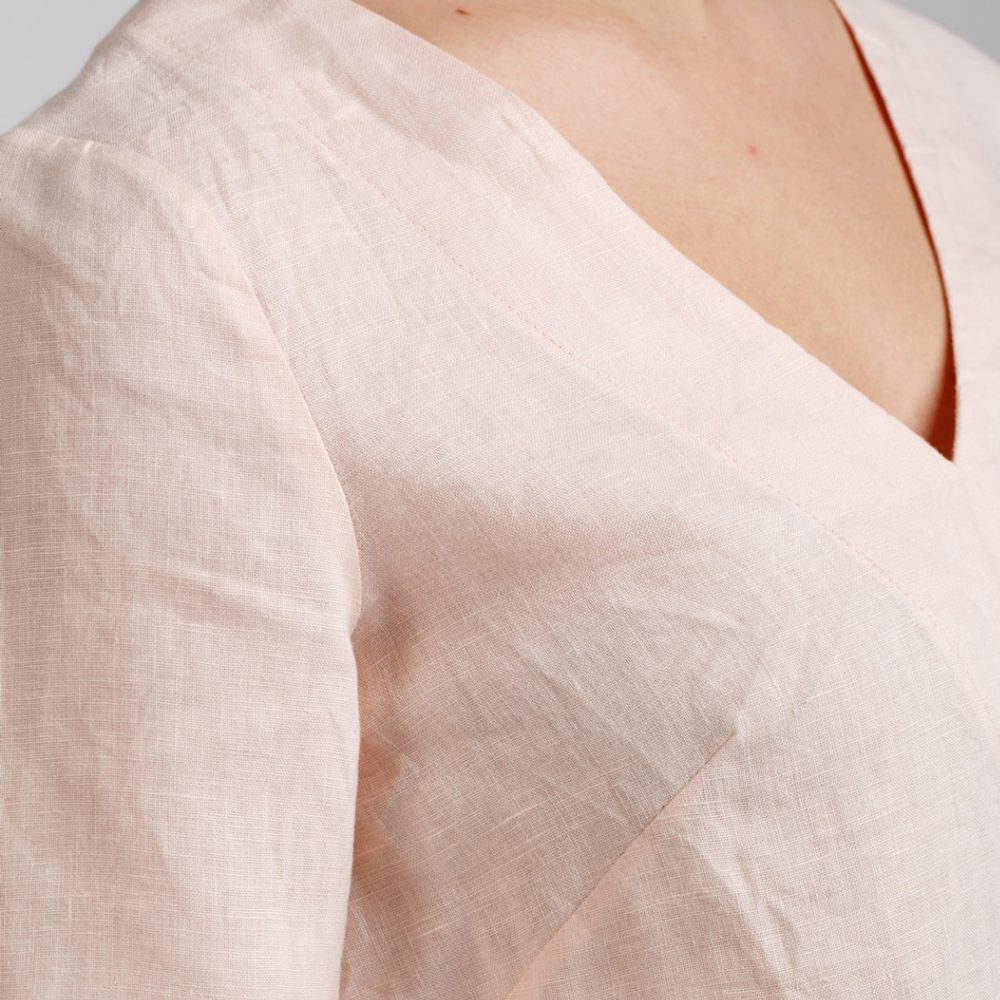
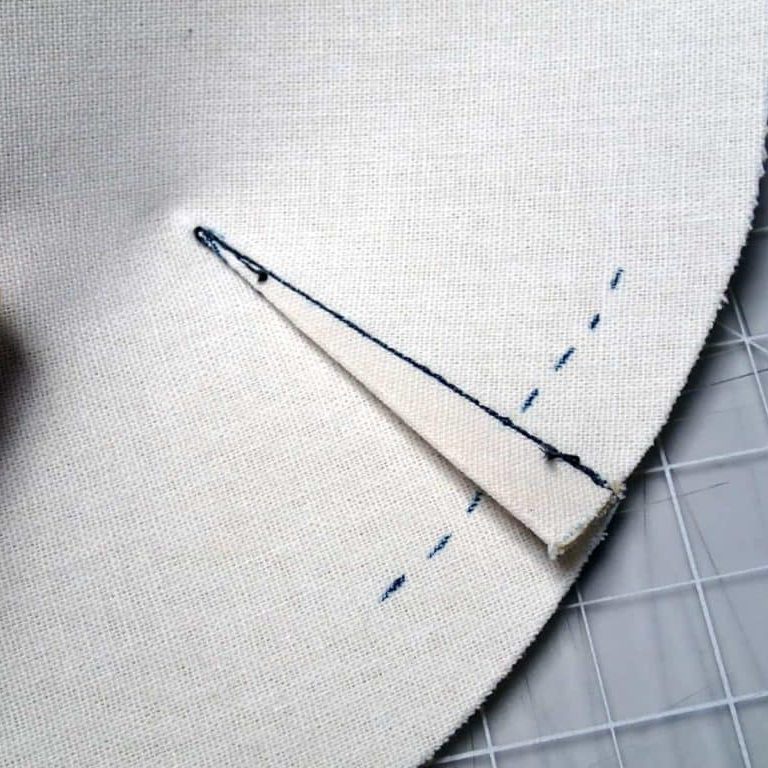
Darts are triangular folds sewn into fabric to provide shape and definition to garments. They help the fabric conform to the body’s curves, allowing for a tailored and flattering fit. Darts can be found on various clothing items, including blouses, dresses, skirts, and trousers.
Darts are typically positioned at key points on the garment, such as the bust, waist, and hips. They can vary in size and length, depending on the design of the garment and the amount of shaping required. Understanding the role of darts in sewing is the first step in mastering this essential technique.
The Importance of Darts in Garments
Properly sewn darts improve the fit of a garment significantly. A well-fitted garment enhances the wearer’s silhouette, making it more flattering. In addition, darts allow for ease of movement without compromising the sleek look of tailored clothing.
When sewing commercial patterns, you will often encounter darts in various styles. Many patterns include markings to show where darts should be sewn. Learning how to sew these darts correctly is crucial for ensuring that the final garment looks polished and professional.

Types of Darts
Basic Darts
Basic darts are the most common type. They are typically sewn from the edge of the fabric toward the point, creating a triangle shape. Basic darts can be found on blouses, dresses, and skirts. The classic bust dart allows the clothing to fit better around the bust area.
Double-Ended Darts
Double-ended darts, also known as fish-eye darts, offer shaping in two directions. They are commonly found in tailored jackets and fitted dresses. Double-ended darts begin at the waist or hip and extend toward the bust or shoulder area. This type of dart provides a more dramatic and sculpted look.
Contour Darts
Contour darts are used in more advanced designs. They require a precise fit and are often used in formal wear and evening gowns. Positioned in various locations, these darts are more complex and create a sophisticated silhouette.
Tools and Materials Needed
Essential Sewing Tools
Before you begin sewing darts, it is important to gather the necessary tools. The following items will help you achieve professional results:
- Fabric – Ensure you have enough fabric for your garment. Choose a fabric that holds its shape well, such as cotton or a blend.
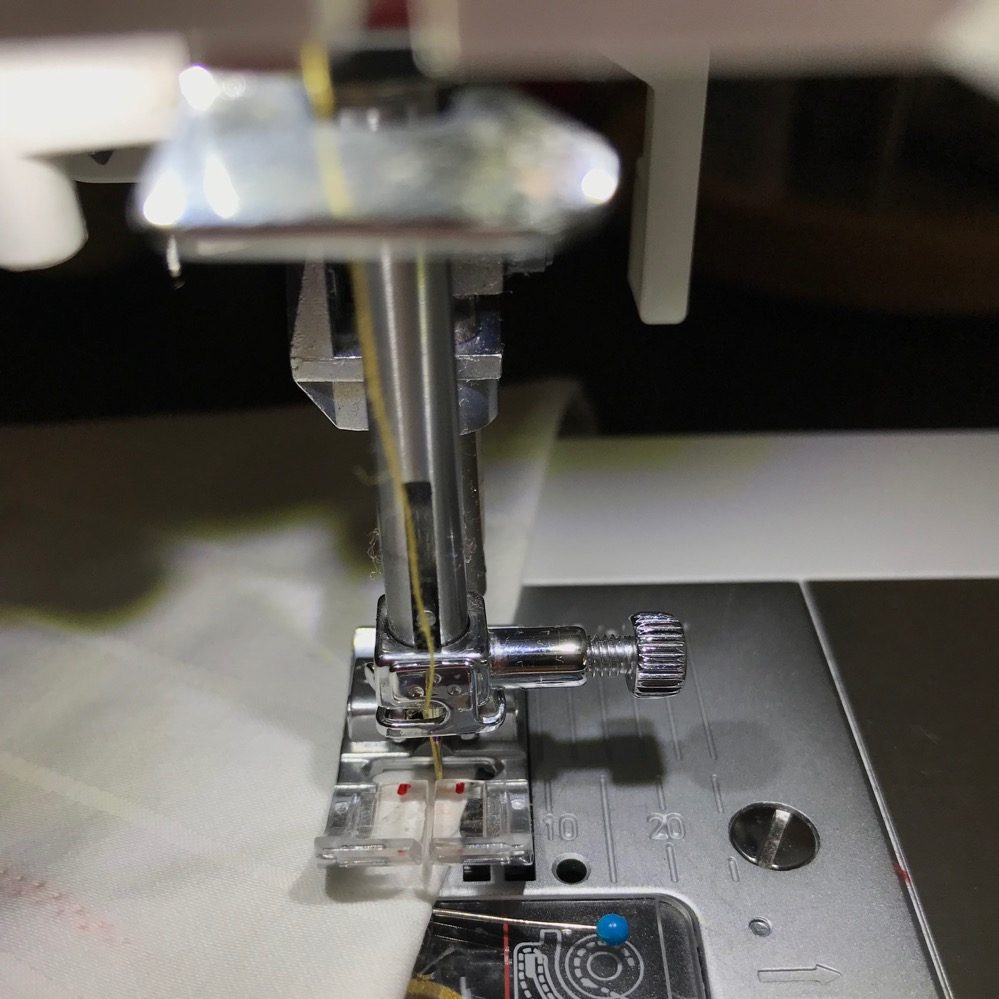
- Sewing Machine – A reliable sewing machine is crucial for creating accurate and neat stitches.
- Tailor’s Chalk or Fabric Marking Pen – Use tailor’s chalk or a fabric pen to mark the dart lines on your fabric.
- Rulers and Measuring Tape – Accurate measurements are key to successful dart placement.
Preparing Your Workspace
A clean and organized workspace will make the sewing process more enjoyable. Ensure adequate lighting and space to maneuver your fabric easily. Having your tools within reach will allow you to focus on sewing rather than searching for supplies.
Marking Darts on Fabric
Understanding Patterns and Locations
Before you start sewing darts, consult the pattern you are using. Most patterns include markings to indicate the dart’s placement. These markings are key to achieving the desired fit. Follow the pattern instructions closely to ensure accuracy.
Measuring and Marking
Once you have identified the dart placements, use tailor’s chalk or a fabric pen to mark the dart lines. It is essential to mark both the dart seam lines and the apex of the dart, which is the point where the dart will end. Ensure your markings are clear and visible, as they will guide your sewing.
Take your time during this step. Accurate measurements and markings will make a significant difference in the final result. Using a ruler to check straight lines can also assist in achieving precision in your markings.

Sewing the Darts
Stitching the Dart
Now that your darts are marked, we can start sewing! Begin by folding the fabric along the dart’s seam line, aligning the two edges together. Pin the dart in place to hold the fabric securely. This will keep the layers from shifting while you sew.
Set your sewing machine to a straight stitch and select an appropriate stitch length. A slightly shorter stitch length can provide more strength to the seam, which is beneficial for darts.
Sew along the marked line, starting from the wide end of the dart and sewing toward the apex. Take your time to ensure that you maintain a consistent distance from the edge. As you approach the apex, decrease the stitch length for added precision.
Finishing the Dart
Once you have sewn the dart, you may need to trim any excess fabric near the apex. This step reduces bulk and ensures a smoother finish. Press the dart to one side using an iron, which helps achieve a crisp, professional look.
Pressing darts is essential to maintaining their shape. Ensure you are using the appropriate heat setting for your fabric type. A tailor’s ham can be useful for pressing darts, as it allows you to achieve a curved shape.
Tips for Perfect Darts
Practice Makes Perfect
Sewing darts may take time to master, so patience is key. Consider practicing on scrap fabric before working on your main garment. This practice will give you confidence in the technique and help you improve your stitching skills.
Experiment with different sizes and angles for your darts. Many garments require darts of varying lengths, so understanding how different shapes affect the fit will be beneficial. By practicing, you can find what works best for your style and the fabrics you choose.
Seek Feedback
If you are new to sewing, don’t hesitate to seek feedback from experienced sewists. Joining sewing groups or taking classes can provide valuable insights. Many people are happy to share tips, tricks, and personal experiences that can enhance your dart-sewing journey.
Constructive criticism can help you improve your skills and gain confidence in your sewing abilities. Try to view every opportunity as a learning experience that contributes to your growth as a sewist.

Embracing Your New Skills
In conclusion, mastering the art of sewing darts is an essential skill for anyone looking to create well-fitted garments. With practice, you can enhance your sewing skills and produce clothing that looks professional and tailored.
As you experiment with different types of darts and techniques, you’ll gain a deeper understanding of how they contribute to the overall fit of your garments. Do not be discouraged if your first few attempts do not meet your expectations. Every sewist started where you are now, and improvement comes with time and patience.
Now that you are equipped with knowledge about sewing darts, gather your materials and start practicing! Each stitch will bring you closer to achieving that perfect fit and unlock new possibilities in your sewing projects. Embrace your new skills and enjoy the satisfying process of creating beautiful garments that flatter your figure. Happy sewing!
