Introduction: Importance of a Bicycle Seat
A bicycle seat is more than a simple accessory—it’s the backbone of a cyclist’s comfort, performance, and safety. The right seat ensures that every ride is enjoyable, efficient, and injury-free, while a poorly chosen or adjusted one can lead to discomfort, reduced efficiency, or long-term health issues.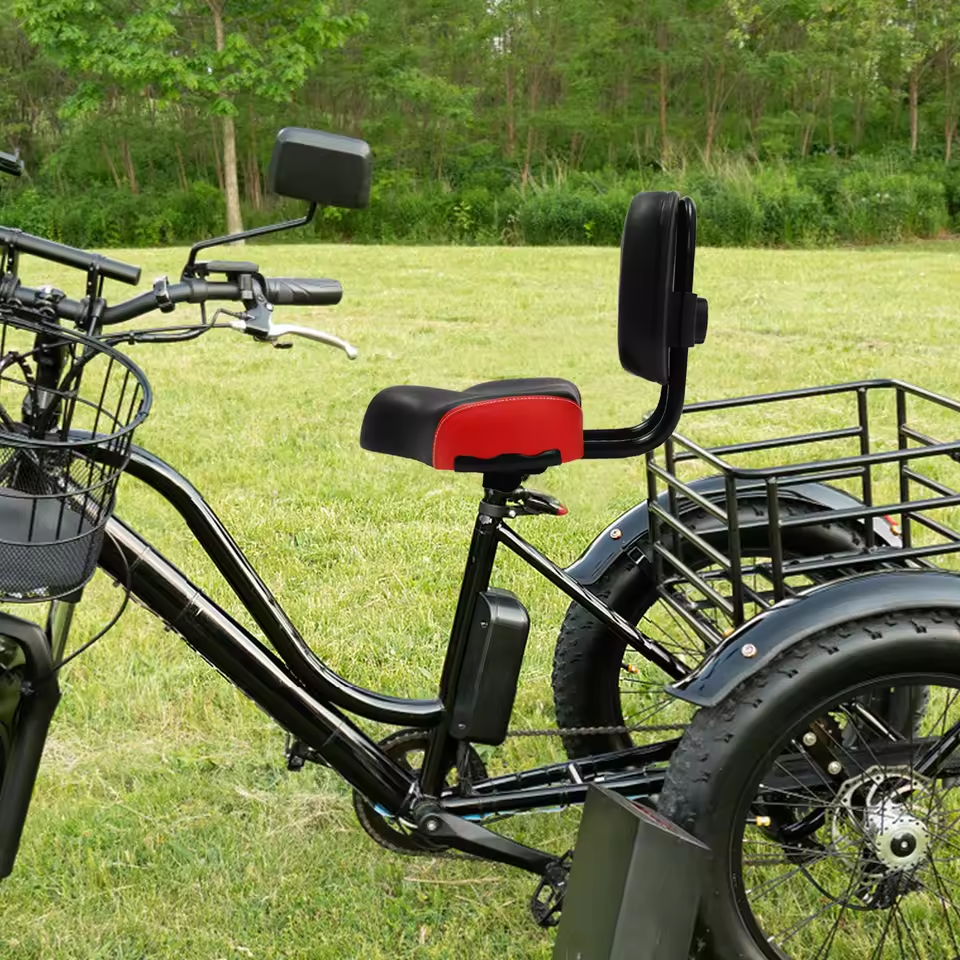
1. Comfort and Pain Prevention
Prolonged pressure on sensitive areas (e.g., nerves, soft tissues) can cause numbness, saddle sores, or chronic pain. A well-designed bicycle seat distributes weight evenly, reducing pressure points. For example, anatomically shaped seats with cutouts or gel padding minimize strain on sensitive zones.
2. Enhancing Performance
A correctly fitted seat improves pedaling efficiency. When positioned at the right height and angle, riders can maintain an ergonomic posture, allowing legs to fully extend without overreaching. This alignment reduces wasted energy and maximizes power transfer to the pedals.
3. Safety and Stability
A secure seat enhances control. Seats with ergonomic curves or textured surfaces prevent sliding, especially during sudden stops or off-road terrain. Proper adjustment also ensures balanced weight distribution, reducing the risk of falls.
4. Tailored to Riding Styles
Different activities require different seats:
- Road Bikes: Narrow, lightweight seats for aerodynamics.
- Mountain Bikes: Wider, padded seats for shock absorption.
- Commuters: Comfort-focused designs for daily use.
5. Long-Term Health Benefits
A poorly fitted seat can lead to knee, hip, or lower back pain. By choosing a seat that suits your body type and adjusting it properly (e.g., seat height, angle), cyclists can avoid musculoskeletal strain.
Bicycle Seat Types: Choosing the Right Design
Selecting the ideal bicycle seat depends on riding style, body type, and comfort preferences. Here’s a guide to common types:
1. Road Bike Seats
- Design: Narrow, elongated shape for aerodynamics.
- Material: Lightweight carbon fiber or stiff foam for power transfer.
- Best For: Long-distance cycling (e.g., Selle Italia SLR Boost).
2. Mountain Bike Seats
- Design: Wider, with cushioned padding for shock absorption.
- Material: Durable rubber or gel for rough terrain.
- Best For: Off-road trails (e.g. WTB Volt Saddle).
3. Hybrid/Commuter Seats
- Design: Balanced width for comfort and efficiency.
- Material: Leather or padded vinyl for daily use.
- Best For: City riding (e.g., Brooks B17).
4. Gel or Gel-Padded Seats
- Design: Gel inserts reduce pressure points.
- Best For: Riders seeking cushioning without bulk.
5. Women-Specific Seats
- Design: Wider, with cutouts for pelvic comfort.
- Material: Ergonomic curves for anatomical fit.
Key Tips:
- Body Type: Wider hips may require broader seats.
- Riding Style: Prioritize aerodynamics for racing or cushioning for casual rides.
Choosing the right bicycle seat design ensures comfort, efficiency, and a smoother ride. Experiment with styles to find your perfect match!
Bicycle Seat Materials: Durability & Comfort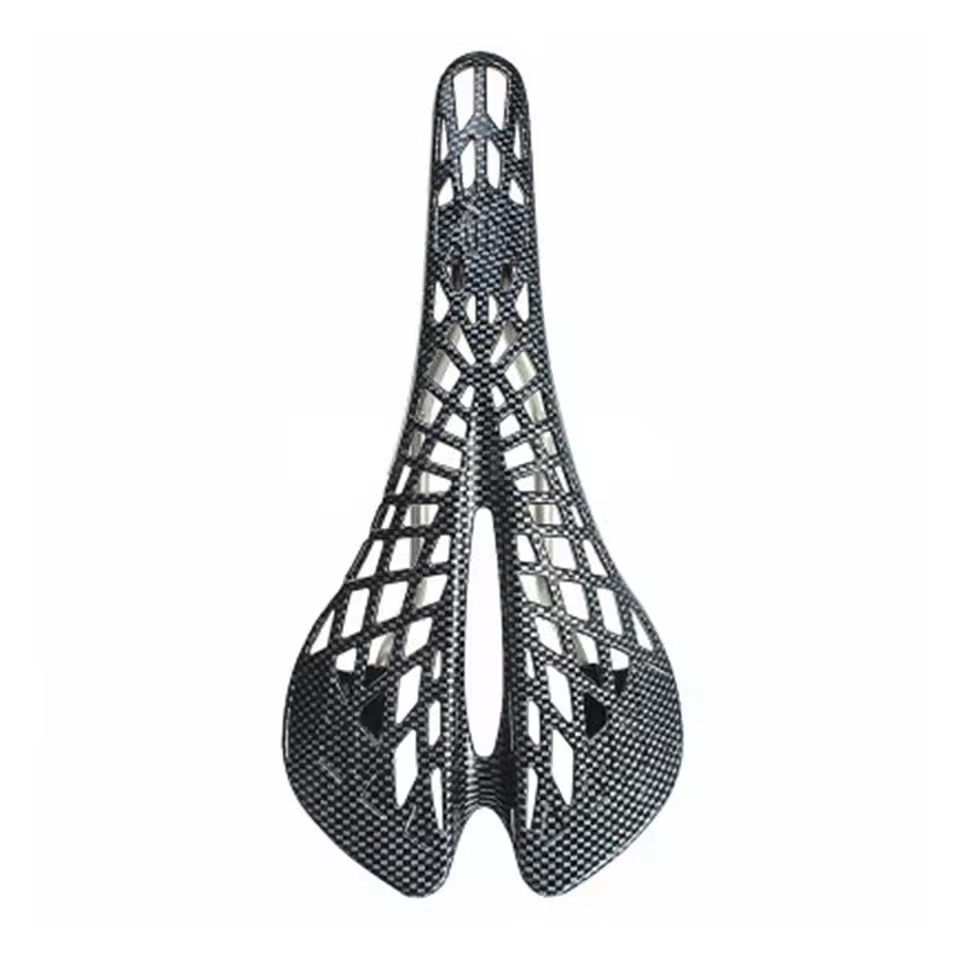
The material of your bicycle seat directly impacts its longevity, comfort, and suitability for your riding style. Below is a breakdown of common materials and their pros/cons:
1. Leather Seats
Leather seats offer exceptional durability, lasting decades with proper care. They mold to the rider’s body over time, providing personalized support. Maintenance requires regular waxing to prevent drying. These seats are ideal for enthusiasts prioritizing longevity and classic aesthetics.
2. Foam Seats
Foam seats are lightweight and cushioned, making them comfortable for short rides. However, they may compress or crack under heavy use, with a typical lifespan of 1–3 years. They are a budget-friendly option for casual riders.
3. Carbon Fiber Seats
Carbon fiber seats are durable and weather-resistant, with a rigid design that enhances power transfer for performance-oriented cyclists. Their ultra-lightweight nature makes them popular in racing. However, their rigid structure may lack cushioning for long rides.
4. Gel-Padded Seats
Gel inserts in these seats reduce pressure points, offering enhanced comfort for riders seeking extra cushioning. While gel improves initial comfort, the material may degrade over time, shortening the seat’s lifespan compared to leather or carbon fiber.
5. Rubber/Thermoplastic Seats
Made from flexible materials like rubber or thermoplastic, these seats are weather-resistant and shock-absorbing, making them ideal for mountain biking. They balance durability and comfort in rugged terrain.
Key Considerations:
- Body Weight: Heavier riders may require reinforced materials like carbon fiber or thick rubber.
- Climate: Leather is less suited to extremely humid environments, while rubber seats thrive in varied weather.
- Budget: Leather or carbon fiber seats are pricier but offer long-term value, while foam or rubber options are more affordable.
By understanding material trade-offs, you can choose a bicycle seat that balances durability, comfort, and your riding needs.
Finding the Right Bicycle Seat Size
Choosing the correct bicycle seat size is crucial for comfort and injury prevention. Follow these steps to ensure a perfect fit:
1. Measure Your Sit Bones
- How:
- Sit on a hard surface (e.g., book) and lean forward.
- Mark the widest points of your hips on the surface.
- Measure the distance between marks—this is your sit bone width.
- Rule of Thumb: Seat width should be 1–1.5 inches wider than your sit bones.
2. Match to Riding Style
- Road Bikes: Narrower seats (2.5–3.5 inches) for aerodynamics.
- Mountain Bikes: Wider seats (3.5–4.5 inches) for shock absorption.
- Comfort/Commuter: Broad seats (4–5 inches) for extended rides.
3. Try Before You Buy
- Test Ride: Sit on the seat at a bike shop. Ensure no pressure on sensitive areas.
- Adjustments: Even a well-sized seat may need height/angle tweaks.
4. Common Mistakes
- Too Narrow: Causes pain by concentrating pressure.
- Too Wide: Reduces pedaling efficiency and stability.
Adjusting Bicycle Seat Height
Properly adjusting your bicycle seat height is essential for efficient pedaling, injury prevention, and overall comfort. An incorrect height can lead to knee strain, back pain, or reduced power transfer. Follow these steps for a perfect fit:
1. The Basic Adjustment Method
- Step 1: Stand Over the Bike
Place one foot on the ground and check clearance between the top tube and your crotch. Ensure a 1–2 inch gap for safety. - Step 2: Position the Pedal
Lower one pedal to the 6 o’clock position (directly downward). - Step 3: Align Your Leg
Sit on the seat and place your heel on the lowered pedal. Your leg should be almost fully extended (a slight bend is okay). - Step 4: Adjust the Seat
Raise or lower the seat until your heel touches the pedal with a straight leg. This ensures optimal power transfer.
2. Fine-Tuning for Comfort
- Cleat Position: If using clipless pedals, ensure your forefoot is over the pedal axle.
- Slight Bend: A 5–10° knee bend at the bottom of the pedal stroke prevents overextension.
3. Common Mistakes to Avoid
- Seat Too High:
- Causes rocking hips and knee pain.
- Fixes: Lower the seat slightly.
- Seat Too Low:
- Reduces power and strains the quadriceps.
- Fixes: Raise the seat until legs are nearly straight at the bottom of the pedal stroke.
- Ignoring Rider Flexibility:
Stiffer riders may need a slightly higher seat; those with limited flexibility might lower it slightly.
4. Adjustments for Different Riding Styles
- Road Biking: Slightly higher seats for maximum power.
- Mountain Biking: Lower seats for quick pedal strokes on rough terrain.
- Comfort Riding: Slightly lower seats for relaxed pedaling.
5. Final Check
- Test Ride: Pedal for 5–10 minutes.
- Signs of Correct Height:
- No knee pain.
- Smooth, circular pedal motion.
- No rocking hips.
Conclusion
Regularly revisit your bicycle seat height, especially after growth spurts or injury. Small adjustments (1–2 mm at a time) refine comfort. Remember: a properly set seat height maximizes efficiency and minimizes strain, turning every ride into a smooth, enjoyable experience.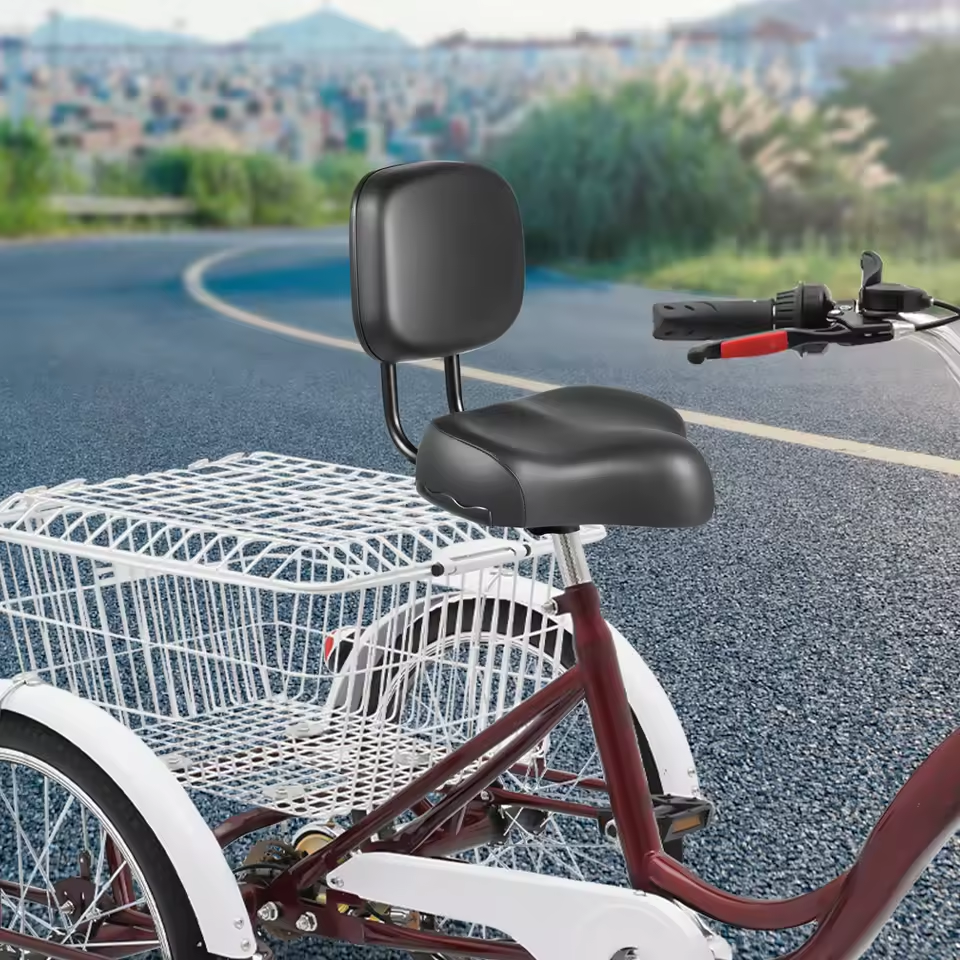
Fine-Tuning Seat Angle & Fore-Aft Position
Optimizing the bicycle seat’s angle and fore-aft position is crucial for achieving a comfortable and efficient riding posture. The seat angle determines how your body weight distributes over the saddle, while the fore-aft position ensures proper knee alignment with the pedals. To adjust the seat angle, start by ensuring it is level with the ground—this prevents sliding forward or backward. For road cyclists, a slight downward tilt of 1–3 degrees at the nose can reduce pressure on sensitive areas. Test this by sitting on the saddle; your pelvis should remain centered without sliding.
Next, fine-tune the fore-aft position by placing one pedal at the 3 o’clock position. Your knee should be directly above or slightly behind the ball of your foot when the crank is horizontal. If your knee drifts inward, move the seat forward slightly; if it extends too far outward, shift it back. A common mistake is positioning the seat too far forward, which strains the knees, or too far back, reducing power transfer.
To verify alignment, perform a ride test: pedal for 5–10 minutes and check for smooth motion, no knee pain, and centered weight distribution. Small adjustments—such as shifting the seat by 5mm increments—can significantly improve comfort. Remember, the ideal setup balances power output and comfort, so experiment until you find the position that feels natural and allows full leg extension without strain. Proper adjustment ensures your bicycle seat enhances every ride.
Maintenance Tips for Bicycle Seats
Proper maintenance extends the lifespan of your bicycle seat and ensures ongoing comfort. Regular care prevents wear, mold, or material degradation, whether your seat is leather, foam, or gel-based. Start by cleaning it weekly with a soft cloth and mild soap solution—avoid harsh chemicals or abrasive tools that can damage finishes. For leather seats, apply a saddle wax or conditioner every few months to retain flexibility and moisture resistance.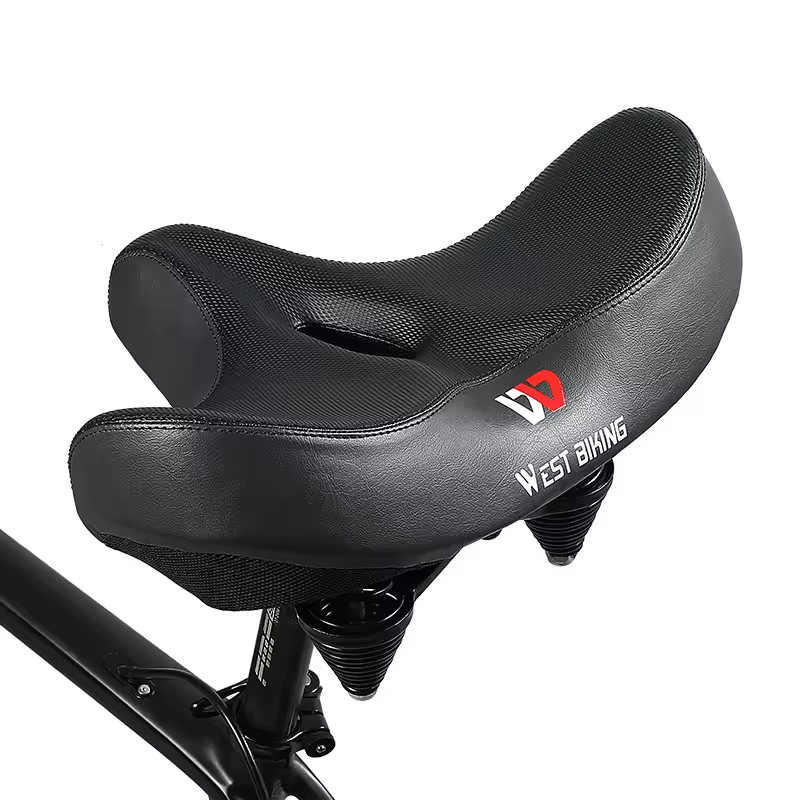
Check for cracks, tears, or loose stitching during routine inspections, especially around the rails or edges. If the seat clamp becomes loose, tighten it promptly to prevent unwanted movement. Avoid exposing the seat to extreme heat or direct sunlight for prolonged periods, as this can warp materials or dry out leather.
For gel or foam seats, ensure the padding remains intact; replace the seat if it becomes compressed or uneven. After rides in wet conditions, dry the seat thoroughly to prevent mold growth. When storing the bike long-term, tilt it or use a bike stand to relieve pressure on the bicycle seat, preventing deformation. Additionally, inspect the bicycle inner tube for leaks or damage during maintenance sessions, as poor tire pressure can indirectly affect seat comfort by altering bike handling.
Remember, small maintenance efforts—like wiping off sweat or addressing minor issues early—preserve both comfort and aesthetics. A well-maintained seat remains a reliable companion for years of smooth, pain-free cycling.
Bicycle Seat Replacement Guide
Replacing your bicycle seat is a straightforward task that can vastly improve comfort or fix a worn-out component. Gather a hex wrench (typically 4–5mm), a cloth, and your new seat. Begin by loosening the seat post clamp bolt with the hex wrench—rotate it counterclockwise until the clamp slides freely. Lift the old seat off the post, taking note of its angle and orientation for reinstallation.
Clean the seat post and rails with a cloth to remove dirt or residue. Align the new seat’s rails with the seat post, ensuring the clamp faces backward. Slide the seat onto the post, adjusting the height and angle to your preferred position. Reinstall the clamp bolt, tightening it firmly but avoid over-tightening, which could damage the seat or post.
Check that the seat doesn’t wobble when pressed sideways—loosen and re-tighten if needed. Ensure the seat angle matches your riding style (e.g., level for comfort or slightly tilted downward for road bikes). After installation, lower the bike and pedal in place to test stability.
If the seat post is stuck or rusted, apply lubricant before removal. For carbon fiber components, use extra care to prevent scratches. Finally, verify the seat height and fore-aft position using standard adjustment techniques. A properly installed bicycle seat enhances both comfort and performance, so take time to fine-tune it post-installation.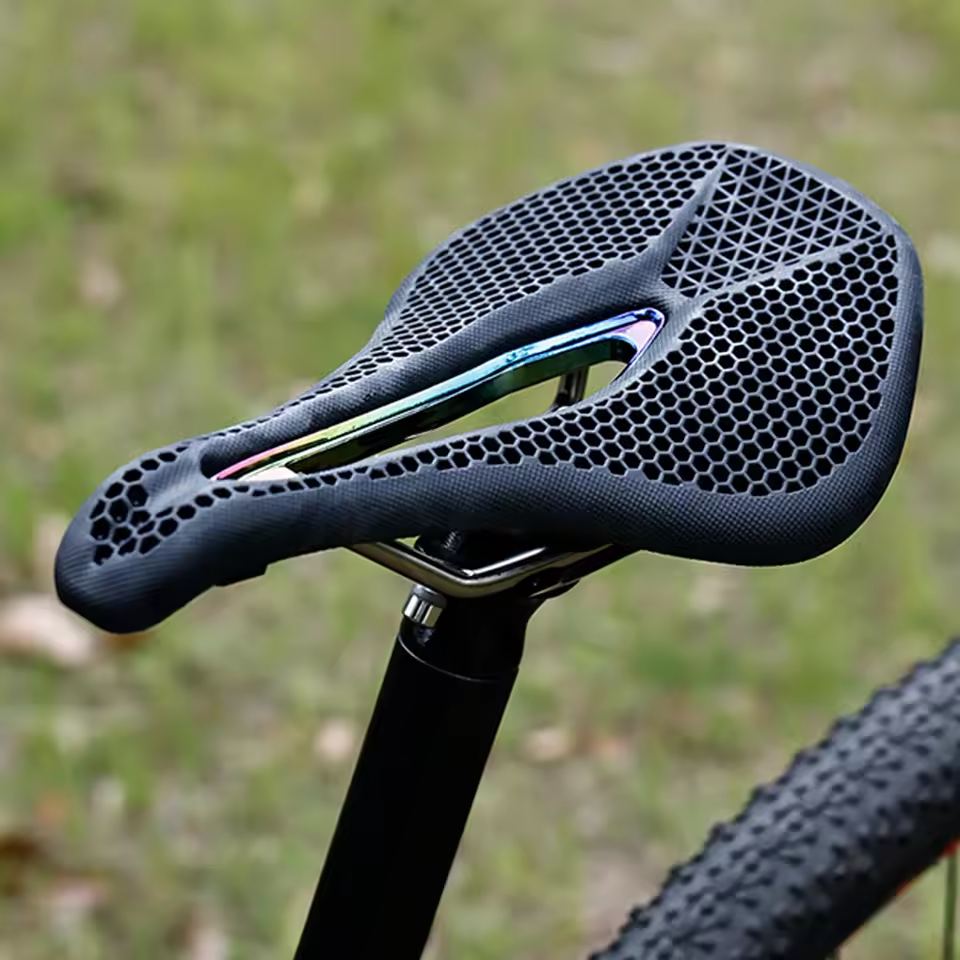
Future Trends in Bicycle Seat Design
The future of bicycle seat design is shaped by innovation in materials, technology, and sustainability. One emerging trend is 3D-printed seats tailored to individual body scans, offering customized pressure distribution and lightweight structures. Smart sensors embedded in saddles will monitor comfort metrics like heart rate or posture, providing real-time adjustments via connected apps.
Eco-friendly materials are gaining traction, such as bio-based foams or recycled plastics, aligning with sustainability goals. Meanwhile, self-inflating gel cushions and adaptive foam that molds during rides promise enhanced comfort without manual adjustments.
Aesthetic trends lean toward minimalist, gender-neutral designs with modular components—e.g., interchangeable covers for style or seasonal needs. Brands also prioritize durability, using carbon fiber or corrosion-resistant alloys to extend lifespan.
As cycling grows in popularity, bicycle seat innovation will focus on merging technology with ergonomics, ensuring riders enjoy seamless comfort while reducing environmental impact. The seat of tomorrow is not just functional—it’s personalized, smart, and planet-friendly.